
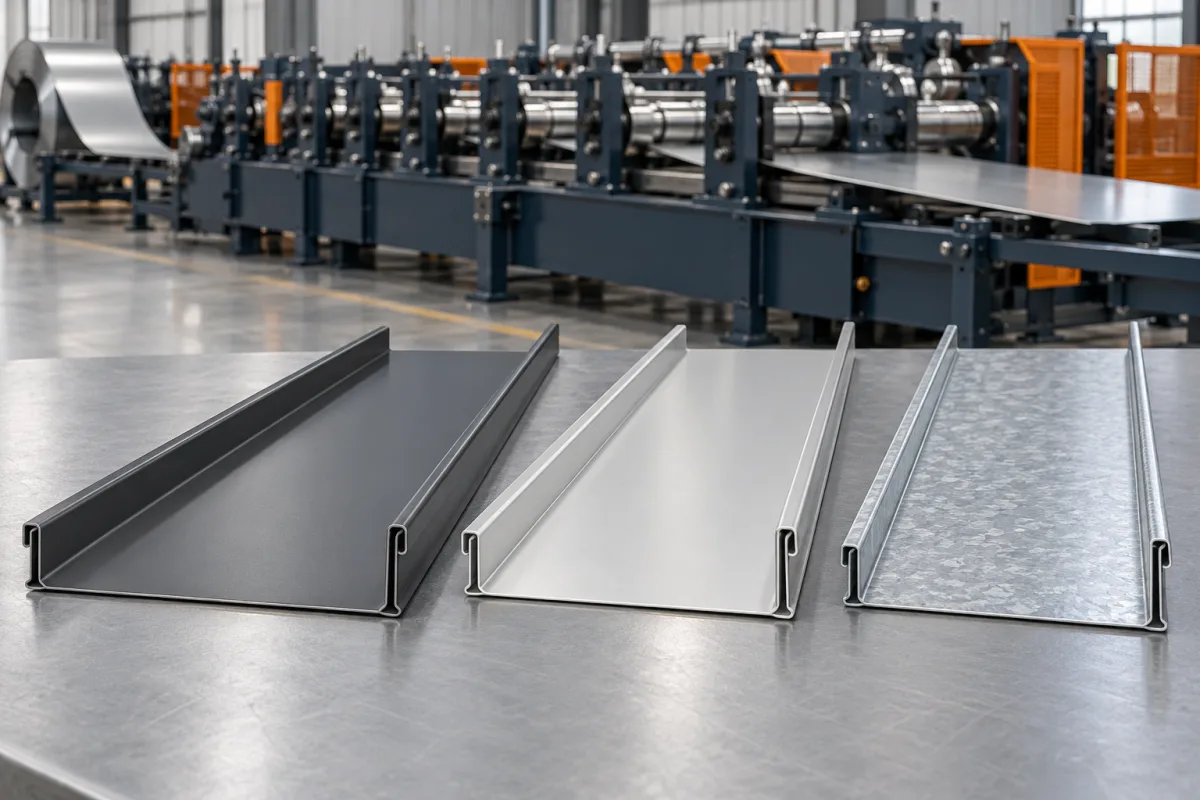
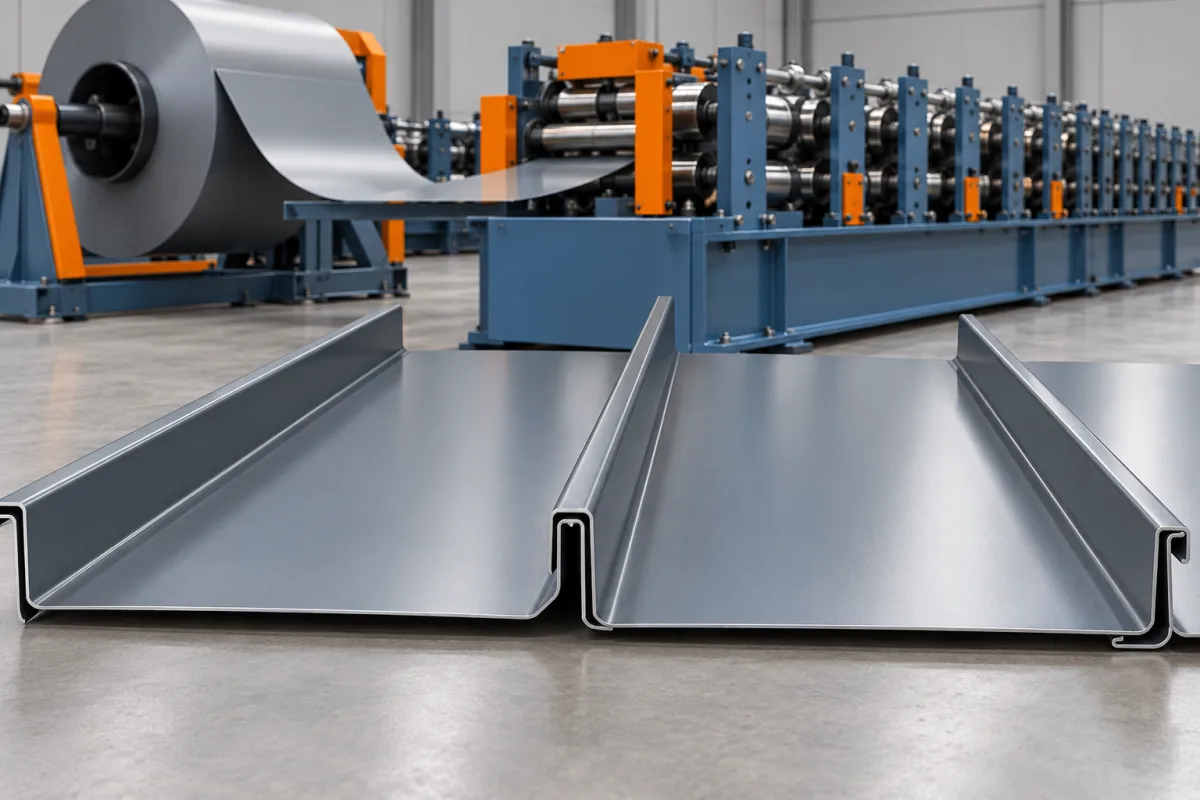
Standing seam equipment is selected around a complete roof-panel joint. The former creates the pan and longitudinal edges; the specified attachments and assembly or closing operation turn those profiles into a roof seam. Snap-lock, mechanical-lock and portable production describe different aspects of the project and should not be treated as interchangeable machine labels.
Separate the panel profile from the production location
A snap-lock or mechanically seamed product defines a particular joint arrangement. Portable versus factory forming describes where and how the panels are produced and handled. Either decision needs its own drawings, material combinations and equipment scope.
Begin with the roof system required for the intended projects. Nominal seam height does not establish clip compatibility, closing-tool suitability or permitted application. Use the actual profile and system requirements rather than borrowing performance values from a similar-looking panel.
Choose the page that matches the main decision
- Standing Seam: compare the full panel, joint and production route.
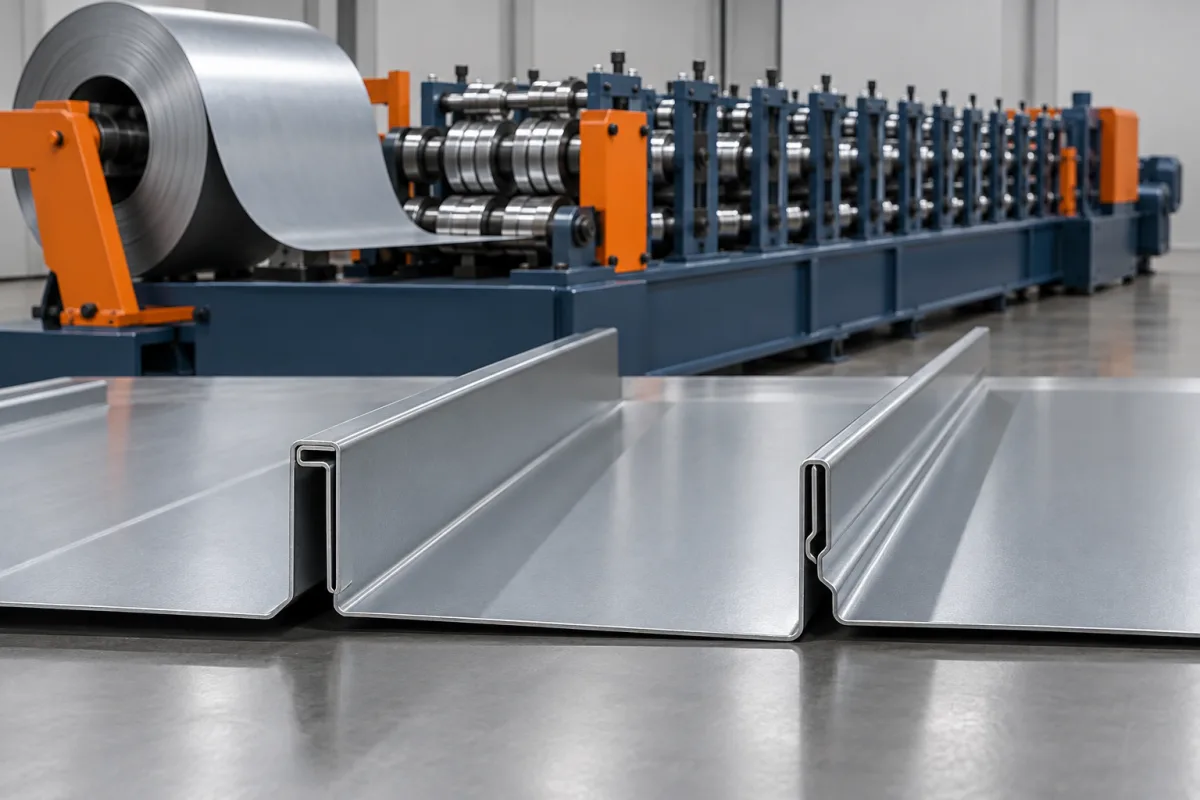
- Snap Lock: examine mating returns, attachment choices and consistent engagement.
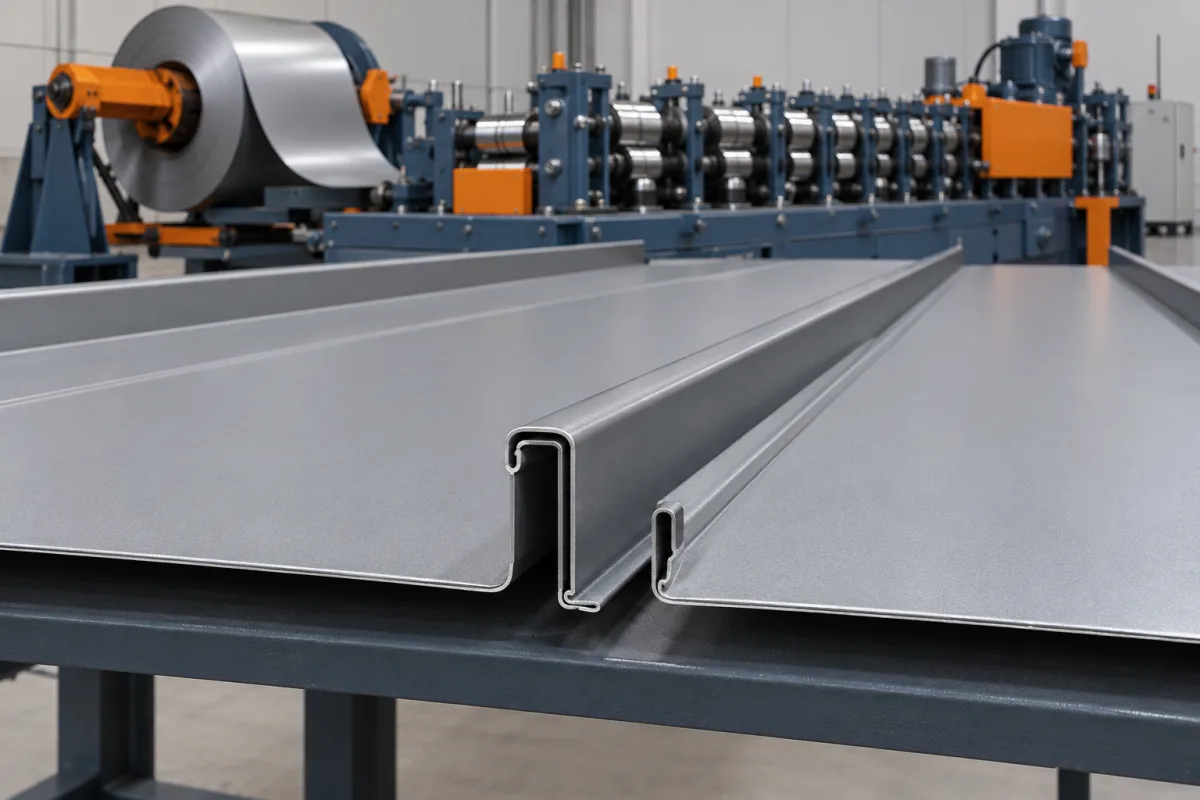
- Mechanical Lock: coordinate open-edge geometry with the completed seam and closing equipment.
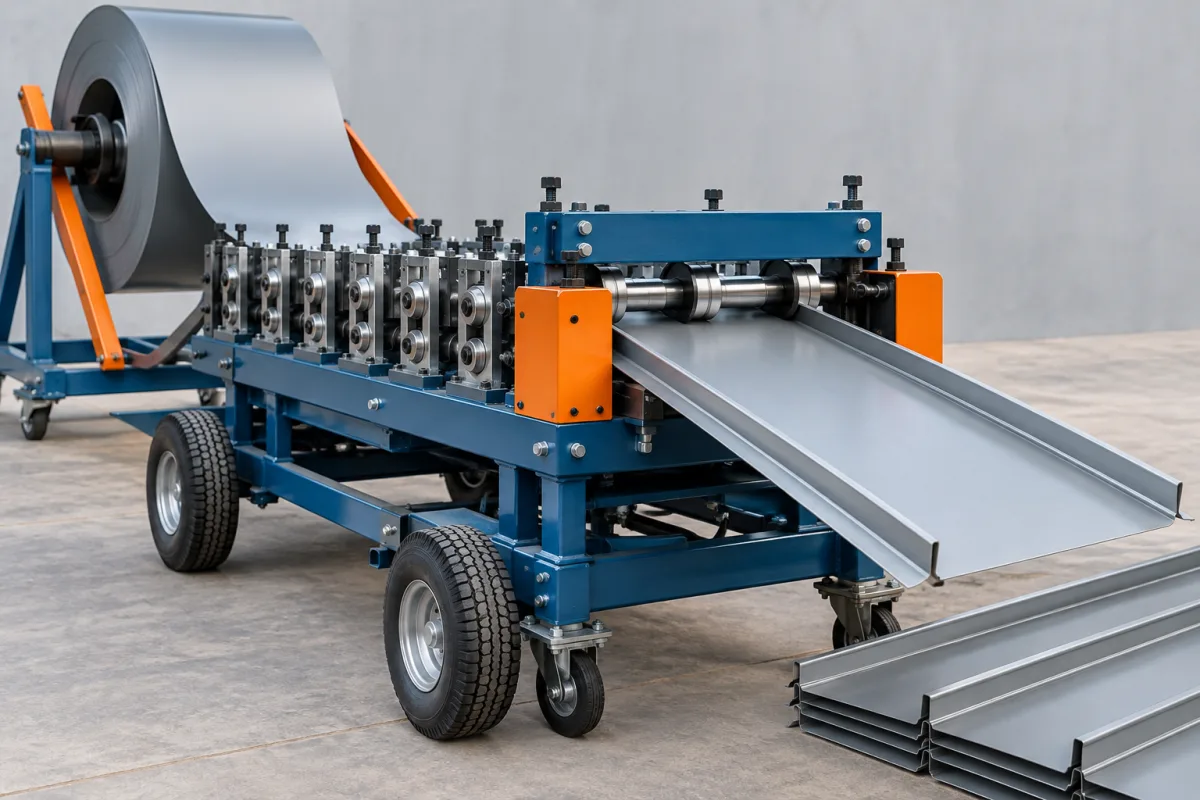
- Portable Former: review access, power, coil handling, takeoff and deployment around the required profiles.
Some specifically engineered profiles support alternative closing methods, but that is not a general property of every standing-seam section. Define any such capability explicitly in the product and tooling package.
Specify every component of the joint
Provide the formed section, completed joint, clips or fixing arrangement and the intended assembly method. For mechanical closing, identify the compatible seaming equipment. Include pan features, end preparations and material details so the trial represents the actual product.
Keep strip width, formed width and effective cover separate. List the lengths needed and how the finished panel is supported after cutoff. Tapering, curving and special notching require their own reviewed processes rather than being assumed features of a straight-panel line.
Evaluate changeovers and material combinations
Width adjustments, material changes and seam-profile changes are different tasks. Ask which use defined settings and which require rolls, guides, cutting components or other tools to be exchanged. An advertised profile range should be translated into the exact tools supplied.
Use production-intent material when checking tight returns, coating and joint assembly. Track material identity with the samples. Demonstrate important transitions through accepted output, including the attachment and closing checks needed for the new configuration.
Plan the full handling route
Factory production needs a plan for packing and transporting finished lengths. Site production needs suitable access, utilities, coil loading and support for emerging panels. Moving the forming operation does not eliminate material-handling and inspection requirements.
Compare accepted-panel output with the receiving operation. Producing more panels than the site can safely handle or install may create damage and congestion rather than useful productivity. Keep machine output distinct from roof-installation progress.
Make assembly part of acceptance
Produce representative panels, inspect both seam edges after cutting and assemble them using the intended attachments. Complete any required mechanical closing operation. Retain before-and-after samples so a deviation can be traced to forming, handling, attachment or closing.
Finish the brief with a realistic order schedule, complete equipment inclusions and responsibility for the combined trial. The product pages in this category explain the narrower choices; together they support selection of a compatible route rather than a collection of individually plausible but mismatched components.
Continue your research
- Standing Seam Roll Forming Machine
- Snap Lock Standing Seam Machine
- Mechanical Lock Standing Seam Machine
- Portable Standing Seam Roll Former
- 25mm Snap Lock Standing Seam Machine
- 38mm Snap Lock Standing Seam Machine
- 1 Inch Mechanical Lock Standing Seam Machine
- 1.5 Inch Mechanical Lock Standing Seam Machine
- 2 Inch Mechanical Lock Standing Seam Machine
- Clipless Standing Seam Roll Forming Machine
- Tapered Standing Seam Roll Forming Machine
- Curved Standing Seam Roof Panel Machine
- How Standing seam roll forming machine Works
- How To Choose a Standing seam roll forming machine
- Standing seam roll forming machine Price: What Affects the Cost?
- Materials and Thickness for Standing seam roll forming machine
- Production Speed and Output of Standing seam roll forming machine
- Roller, Tooling and Forming Design for Standing seam roll forming machine
- Common Defects and Troubleshooting for Standing seam roll forming machine
- Maintenance Checklist for Standing seam roll forming machine