
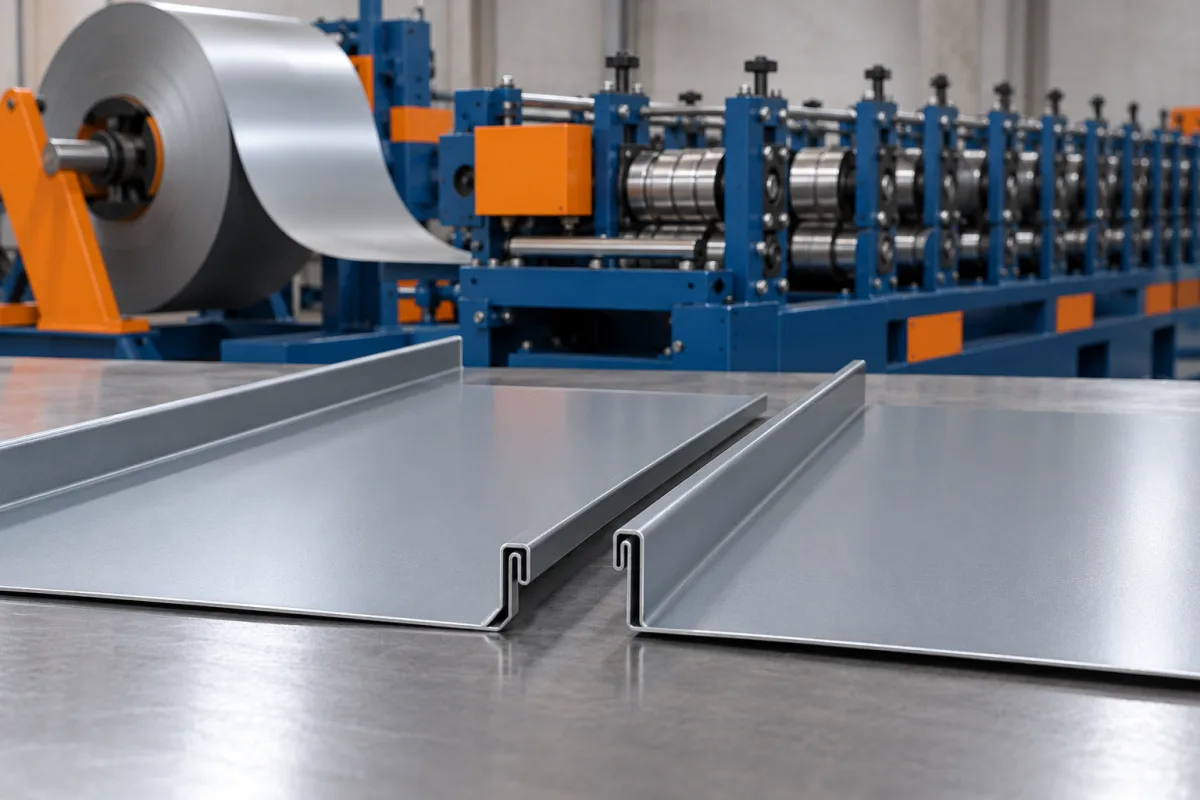
A 1 inch mechanical lock standing seam machine forms roof panels whose raised edges are prepared for the specified mechanical seam-closing process. One inch is 25.4 mm, but the height does not define the completed seam. The panel edges, clips and compatible closing equipment must be considered as one system.
This is different from a snap-lock route. The roll former prepares the edges; the intended seaming operation completes their connection during assembly. A useful equipment brief therefore extends beyond loose-panel dimensions to the condition of the final closed joint.
What does a mechanical-lock profile need to show?
Provide drawings of both unclosed edges and the required final seam. Mark the seam-height reference, return geometry and contact with the specified clip. Identify the intended closing method and the component responsible for performing it.
Do not assume that a one-inch seamer will accept every one-inch panel. Commercial height labels can conceal different edge dimensions or folding sequences. Compatibility needs confirmation with the actual profile and equipment.
How does this differ from a one-inch snap-lock panel?
A snap-lock joint is designed to engage through its prescribed snap assembly. A mechanical-lock joint is formed for a subsequent closing operation. The starting edge shapes and final acceptance criteria are therefore different even when the nominal heights are close.
The choice should follow the selected roof system. It is not a matter of using whichever closing method seems to fit a trial sheet. Keep profile tools, clips and seaming references clearly identified for each product family.
Which dimensions are important before seaming?
Check the two edge heights, return widths, openings and relative positions across the pan. The unclosed geometry must suit both initial assembly and the seamer's engagement. The specified clip must fit without unplanned deformation or substitution.
- Use controlled section datums for both edges.
- Define pan width and optional face features.
- Identify the approved material and coating.
- Show required end notches or preparation.
- Include the completed seam as an acceptance reference.
Retain loose and seamed samples. They document different stages of the manufacturing and assembly process and make later fit investigations more precise.
How does the roll-forming route work?
Guided coil enters progressive stages that develop the pan and mechanical-seam edges. Any required feature-making operation has a defined position in the route. The cutting system produces the order lengths while preserving the prepared returns.
The roll former does not replace the specified seam-closing equipment. List that equipment and any starting or finishing tools separately in the overall production and installation plan. This prevents a machine-only quotation from being mistaken for a complete roof-panel system.
How should material and coating be qualified?
Trial the actual grade or alloy, thickness and coating through both forming and closing. The material undergoes additional deformation during seaming, so an attractive loose panel is not the whole acceptance result. Include film or other specified layers in the review.
Inspect the closed seam's coating and geometry as well as the visible pan. Keep the material identification and closing-equipment setup reference with the sample. A later change in coil supply should be assessed against those approved conditions.
What should be checked at panel ends?
End preparation can affect assembly and seamer access. Specify any required notches, clearances or allowances instead of expecting operators to improvise them. Identify whether the roll-forming package produces those features or leaves them to a separate process.
Inspect the first and last portions of the seam after closing. A successful middle section does not prove that the complete panel can be joined using the intended sequence. Use representative lengths and the actual attachment arrangement during the trial.
Can the same line make taller seams?
Another seam height may require different rolls, guides, cutoff parts and closing equipment. Compare complete profiles rather than assuming that a vertical adjustment converts one inch into another product. The material allowance and clip interface may change too.
Request a configuration schedule for each intended seam and demonstrate a full changeover. Approval should include the first correctly closed joint after the change, not just a loose panel that reaches the target height.
What makes the acceptance trial complete?
- Confirm the profile, clip and compatible closing-equipment references.
- Measure loose-panel edges and pan geometry.
- Inspect cut ends and specified preparation.
- Assemble and close representative joints.
- Inspect completed seam dimensions and coating.
- Check panels after normal handling.
- Record accepted output with included operations stated.
Keep the machine trial distinct from roof-system design verification. Correct manufacture and seam closing are necessary product checks, but they do not by themselves establish every project-specific performance requirement.
Frequently asked questions
Does the roll former close the installed seam?
It normally prepares the panel edges for the specified closing process. Any separate seaming equipment and end-preparation tools should be identified explicitly in the overall scope.
Can a snap-lock clip be substituted?
Do not assume compatibility. Use the clip specified for the mechanical-lock profile and review its interface with both the unclosed and completed joint.
Is one inch a complete seamer specification?
No. The seamer must be compatible with the actual edge geometry, material and required closing sequence. Height alone is not enough to establish that relationship.
Why inspect after seaming?
Closing adds deformation and establishes the final joint. It can reveal fit or coating issues that are not visible in a loose panel, so both stages need acceptance.
What should a buyer supply first?
Provide loose and completed seam drawings, clip details, material combinations, panel dimensions and intended seaming equipment. Add any end preparation and factory or portable production requirements.
Specify forming and closing together
The one-inch mechanical-lock route should be evaluated from coil to completed seam. Connecting those stages makes tooling compatibility, scope and acceptance much clearer than considering the roll former in isolation.

Continue your research
- Standing Seam Roll Forming Machines
- Standing Seam Roll Forming Machine
- Snap Lock Standing Seam Machine
- 25mm Snap Lock Standing Seam Machine
- 38mm Snap Lock Standing Seam Machine
- 1.5 Inch Mechanical Lock Standing Seam Machine
- How Standing seam roll forming machine Works
- How To Choose a Standing seam roll forming machine
- Standing seam roll forming machine Price: What Affects the Cost?
Configuration & specification inputs
Match the configuration to your section drawing, material and production requirements.
| Parameter | Requirement / confirmation needed |
|---|---|
| Profile geometry | Nominal 25.4 mm mechanical-seam family with controlled open and completed-joint drawings. |
| Material | Specified grade or alloy, thickness and coating assessed through forming and closing. |
| Thickness & grade | Material-thickness combinations approved with the intended seam-closing process. |
| Process route | Coil entry, pan and mechanical-edge forming, specified end features, cutting and separate compatible closing. |
| Cutting | Lengths and end preparation that preserve seamer access and functional returns. |
| Output | Accepted panels with the included forming, handling and closing checks clearly stated. |
| Electrical supply | Supply and auxiliaries for the former plus separately identified closing equipment. |
| Acceptance | Loose geometry, clip fit, ends, completed seam and coating after the specified closing sequence. |