
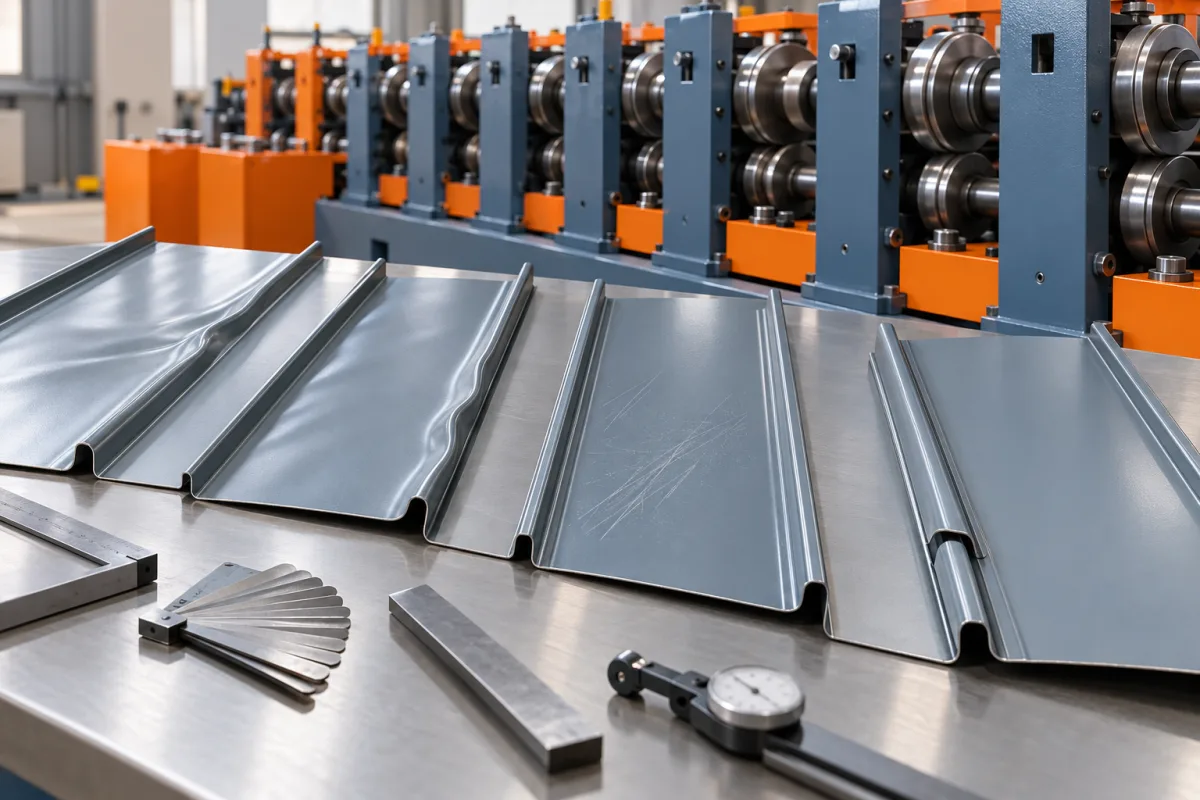
Standing seam troubleshooting begins by locating the problem in one of three places: the open panel, its mating components or the closing operation. A joint that is difficult to assemble does not automatically prove a roll-former fault. Equally, a closed seam that looks neat does not prove the original panel geometry was correct.
Record the exact panel system before investigating
Identify the open-section drawing, assembled-joint revision, material and attachment. Record the seaming equipment and procedure where applicable. Generic descriptions such as two-inch seam or snap panel are not precise enough to establish compatibility.
Retain identified panels and note recent changes in coil, tools, width, clips or closing equipment. This timeline often makes the investigation more efficient. An unexplained adjustment can erase the baseline needed to distinguish the cause.
When a snap joint will not engage
Compare the mating returns and specified attachment with their approved references. Determine whether resistance occurs along the full length or only near the ends. Inspect the open panel after normal cutting and handling, since local edge damage can obstruct engagement.
Observe the approved assembly procedure without forcing the joint into a misleading demonstration. If local reshaping is needed, record it as a deviation rather than treating the result as acceptable production. Any correction should follow the responsible engineering and quality process.
When the joint feels loose or inconsistent
Check the complete geometry and components, not only the most visible hook. A mismatch elsewhere in the joint can produce similar symptoms. Confirm material identity and whether the condition began after a coil or configuration change.
Use the selected roof system's acceptance criteria. A subjective hand assessment alone may be inadequate, and another supplier's joint behavior is not necessarily the correct reference. Preserve the approved sample and the method used to judge it.
When a mechanical seam closes incorrectly
Separate the open-panel condition from the closing operation. Inspect both edges before assembly and confirm the correct clip and compatible seaming equipment. Record where the closed result first departs from the expected geometry.
Do not assume the seamer can compensate for any forming error. Conversely, do not change the panel tools before checking that the closing equipment and procedure match the system. Qualified personnel should investigate each equipment boundary using its own documentation.
When the coating is damaged at the seam
Inspect the finish before forming where accessible, after panel production and after closing. This sequence helps distinguish incoming damage, forming contact, handling and the closing stage. Record protective film status and the method used to inspect the underlying surface.
A geometry correction should be evaluated for finish effects as well. A joint that closes after an uncontrolled change may introduce unacceptable coating damage. Product acceptance needs both the specified shape and surface condition.
When pan waviness appears
Use consistent support and viewing conditions and identify when the appearance becomes noticeable. Incoming strip, production, handling and installed supports can all warrant investigation. The location where a concern is first noticed is not necessarily the stage that caused it.
Compare with an identified accepted reference rather than an unrelated promotional photograph. If the panel changes appearance after installation, document the supports and assembly condition. This keeps manufacturing and installation evidence connected without assuming one is automatically responsible.
When panel ends prevent assembly
Inspect the seam geometry immediately after cutting and again after discharge. Compare both ends with the center. If the problem follows a profile change, verify the correct cutting and support components through the setup record.
Length and edge-shape errors should be recorded separately. A panel may have the correct overall length but an unusable end return. That distinction guides the investigation toward the relevant operation rather than an unrelated control adjustment.
When the problem appears only on site
Compare the site material and setup with the workshop reference. Record loading orientation, power and operating conditions relevant to the maker's requirements, panel support and movement. Portable production changes the environment in which the equipment works, so the site layout is part of the evidence.
Do not perform unsafe improvised adjustments to keep a project moving. Preserve affected samples and obtain the appropriate technical review. A short delay with a clear diagnosis is preferable to producing a large quantity whose compatibility is uncertain.
Close the investigation with a complete joint check
Trace the affected production interval before releasing held material. If a fault began after a particular coil or tool change, use order and sample records to identify the relevant panels. A successful correction proves the new condition; it does not automatically clear everything produced before the correction.
After an approved corrective action, inspect representative open panels and assemble them with the specified components. Verify the original symptom and check that other features remain acceptable. A local change can move a different part of the seam away from its drawing.
- Confirm the defect and its inspection reference.
- Locate the earliest process boundary where it exists.
- Review recent material, tooling and component changes.
- Apply a controlled correction through qualified personnel.
- Verify geometry, closure and finish on representative samples.
- Record the confirmed cause and recovered production condition.
Frequently asked seam troubleshooting questions
Should the hook be opened whenever snap engagement is difficult?
No universal correction follows from that symptom. Material, clips, other returns or end damage may be involved. Investigate against the approved joint before changing functional geometry.
Can a different field seamer be used if its nominal size matches?
Compatibility must be confirmed for the exact system. Nominal size does not establish the correct closing geometry or procedure. Use the specified equipment or obtain the relevant review.
Does successful assembly of one short sample clear a long-panel issue?
Not necessarily. Long panels can reveal straightness, continuity and handling effects absent from a coupon. Test lengths representative of the reported problem.
What should be sent with a support request?
Provide drawings, material identity, attachment and seamer references, annotated measurements, consistent photographs and the change timeline. Include open and closed samples where practical so the equipment boundaries can be distinguished.
Continue your research
- Standing Seam Roll Forming Machines
- Standing Seam Roll Forming Machine
- Snap Lock Standing Seam Machine
- 25mm Snap Lock Standing Seam Machine
- 38mm Snap Lock Standing Seam Machine
- 1 Inch Mechanical Lock Standing Seam Machine
- How Standing seam roll forming machine Works
- How To Choose a Standing seam roll forming machine
- Standing seam roll forming machine Price: What Affects the Cost?