
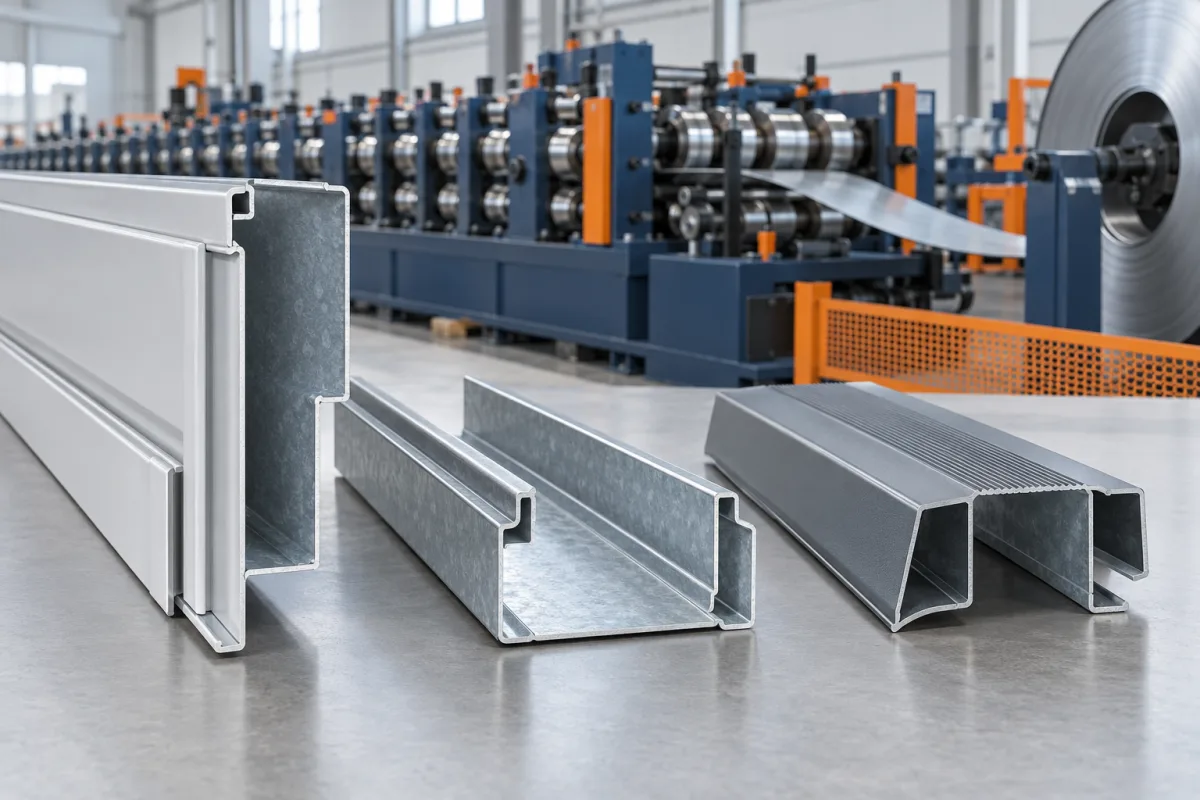
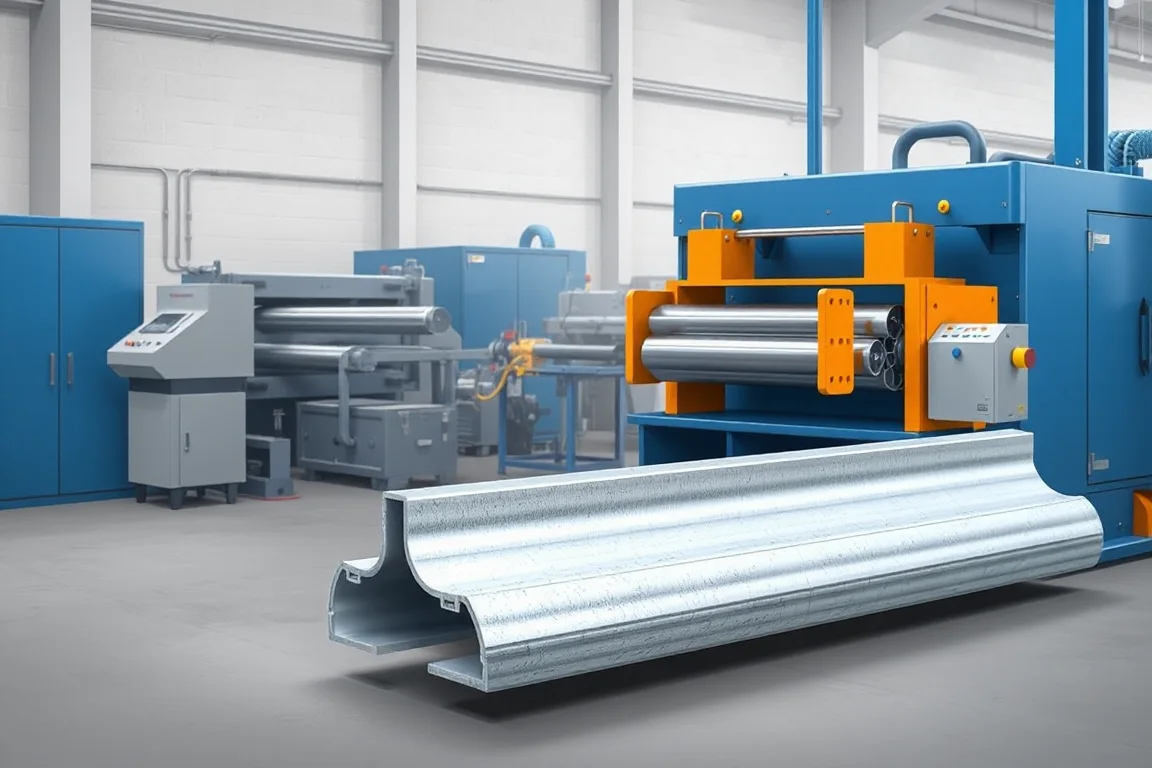
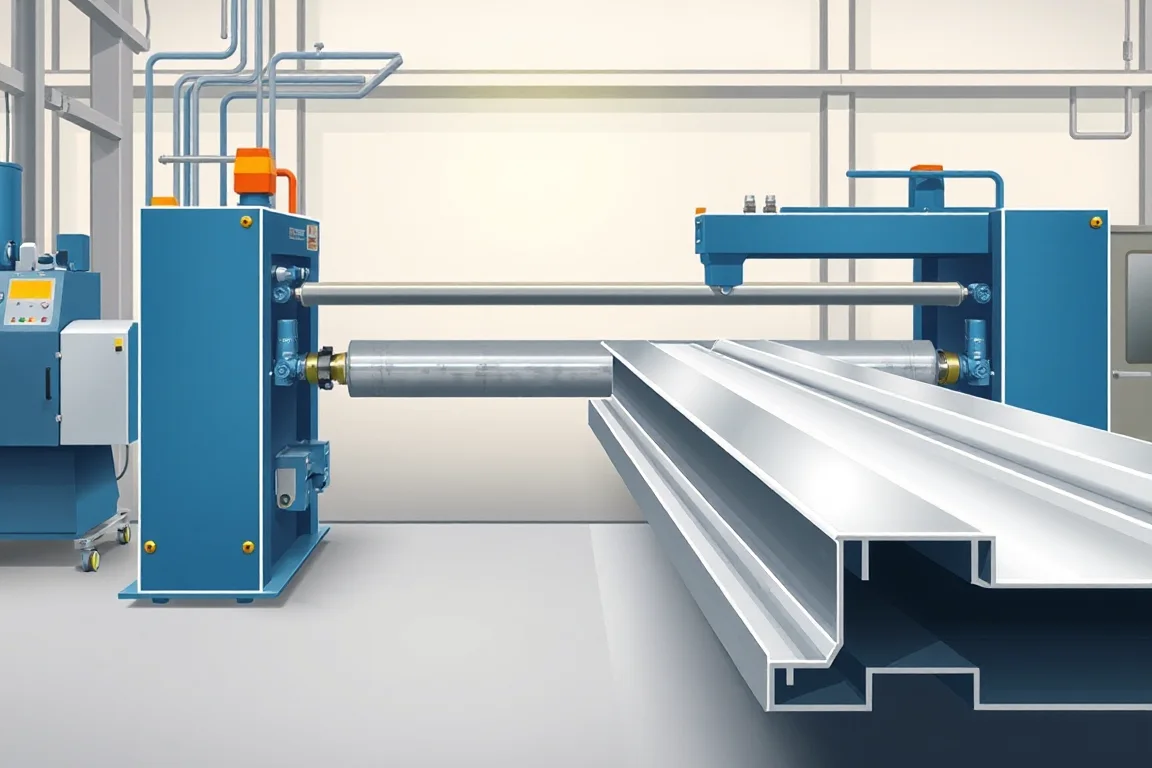
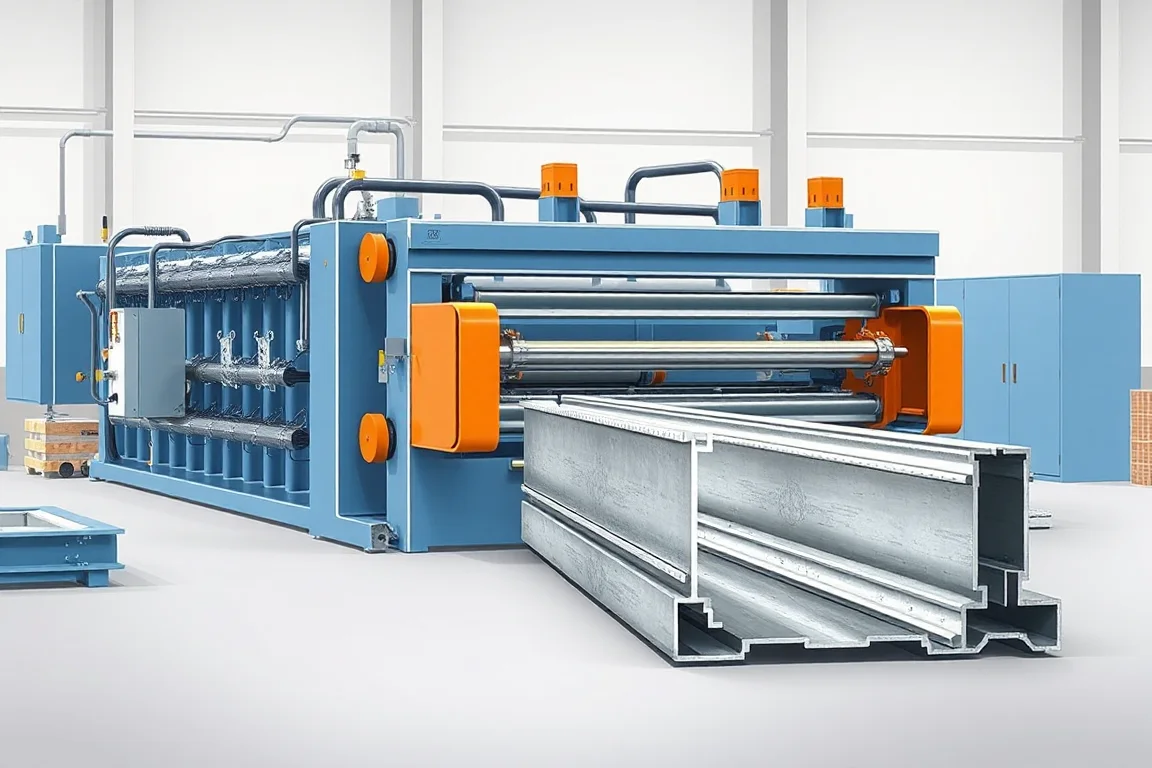
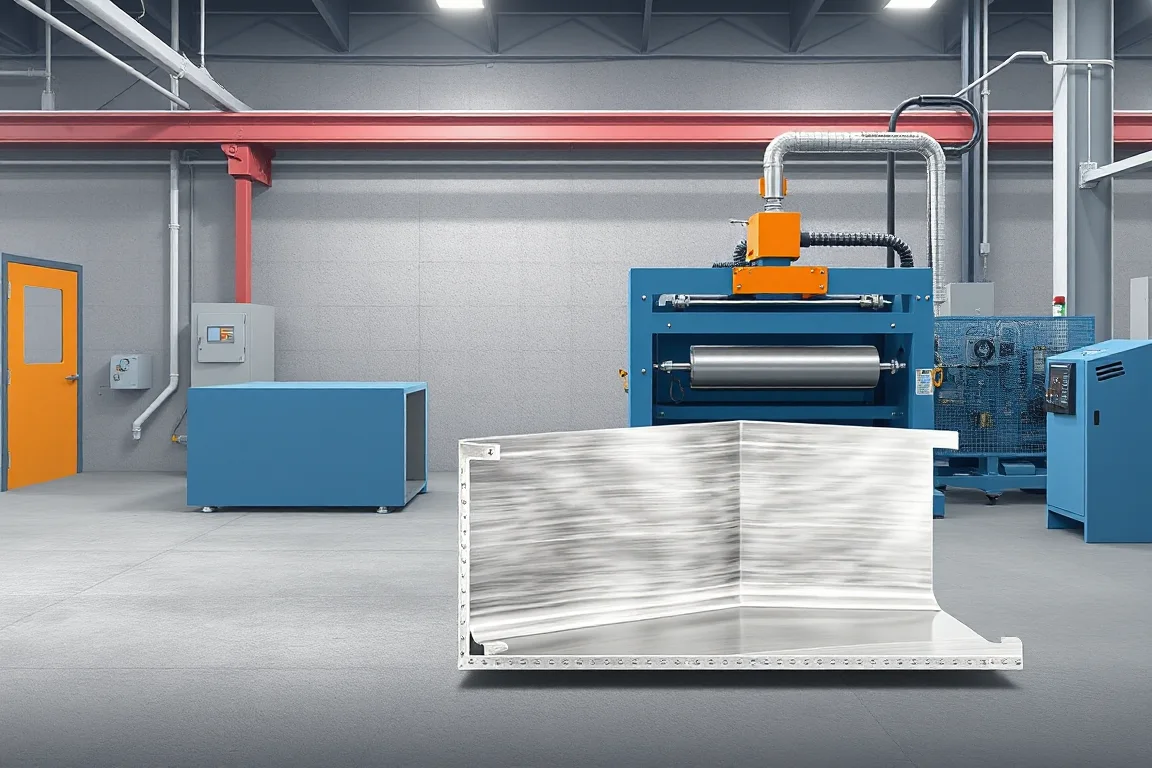
Door and window profile equipment makes components that must fit hardware, seals, panels and openings. Frames, jambs, tracks, reinforcements and thresholds have different functional details even when all look like folded metal sections. The machine should be selected against the completed component and its assembly route, not the generic phrase door-frame profile.
Identify the exact frame or opening component
Define whether the output is a straight jamb, a head section, a window-frame member or another part. Include handing, rebates, wall interfaces and the way corners are joined. The same central cross-section can require different end or hardware operations in different positions.
- Steel Door Frame: review the frame section and the operations completing the assembly.
- Window Frame: coordinate glazing, seal and hardware interfaces for the specified construction.
- Fire Door Frame: follow the controlled frame design within the defined door assembly.
- Door Jamb: focus on the member's rebate, hinge or strike preparation and end references.
Show rebates, returns and mating parts
Provide the complete section rather than a front view of the opening. Narrow rebates, internal returns and seal locations can determine the forming sequence and tool access. Identify functional datums so inspection addresses the actual interface.
Use the intended hardware and seal samples in the review. Similar nominal widths do not establish compatibility. A profile may look neat while lacking the clearance or fastening location needed by the assembly.
Define secondary operations explicitly
Hinge and strike preparation, holes, notches, corner work and joining may be integrated or performed separately. Identify each step and its reference to the finished member. A straight formed length is not necessarily a complete frame component.
For a quotation, state what leaves the line and which tools or fixtures are supplied for later work. This prevents a former-only package from being compared with equipment that also completes hardware features and assembly preparation.
Review material, finish and variant handling
List grade or alloy, thickness, coating and later processing for each section. Visible surfaces and close-fitting rebates can have different acceptance concerns. Use representative material in trials and inspect the part after the required operations.
Track variants by drawing and handing where applicable. Ask which roll, guide, feature and cutting components change between them. Include first-good-part recovery and hardware fit in the changeover assessment rather than timing only the main tool exchange.
Approve a representative assembled interface
Trial corners, seals and hardware as appropriate to the component. Check whether joining or finishing changes the required geometry. A successful loose-jamb measurement does not demonstrate a square complete frame or correct door fit.
Fire or other performance claims belong to the defined tested assembly and its applicable requirements. The ability to manufacture a section does not confer those properties by itself. Follow the controlled design and approval process for the actual product.
Compare finished-part scope and output
Measure accepted members or sets with their required features and downstream work. Mixed lengths, handing, hardware patterns and packing can influence practical output. A continuous run of plain channel is not a representative demonstration for every door or window order.
Prepare the section and assembly drawings, material matrix, hardware references, end details and order schedule. The detailed pages below help turn a broad opening-system enquiry into the specific forming and fabrication requirements needed for usable components.
Continue your research
- Steel Door Frame Roll Forming Machine
- Window Frame Roll Forming Machine
- Fire Door Frame Roll Forming Machine
- Door Jamb Roll Forming Machine
- Hollow Metal Door Frame Roll Forming Machine
- Garage Door Track Roll Forming Machine
- Door Reinforcement Channel Roll Forming Machine
- Steel Door Threshold Roll Forming Machine
- How Door frame roll forming machine Works
- How To Choose a Door frame roll forming machine
- Door frame roll forming machine Price: What Affects the Cost?
- Materials and Thickness for Door frame roll forming machine
- Production Speed and Output of Door frame roll forming machine
- Roller, Tooling and Forming Design for Door frame roll forming machine
- Common Defects and Troubleshooting for Door frame roll forming machine