
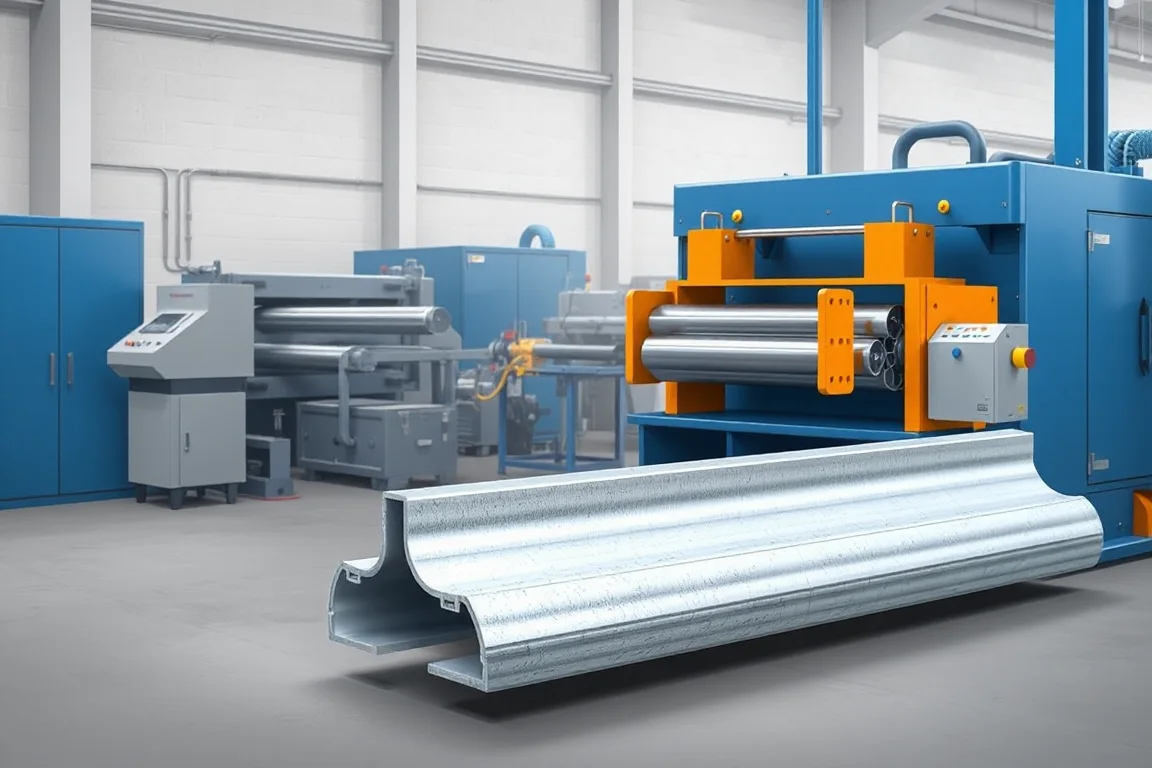
A door jamb roll forming machine produces the vertical frame members that carry the door's hinge, strike or other specified interfaces. The jamb combines a longitudinal section with position-dependent preparations, so its usefulness depends on profile geometry, feature datums and correct handing together.
Jamb production deserves its own focus even when it shares equipment with frame heads. A head may repeat the same section without the same hardware schedule, while left and right jambs can look similar until their features are inspected. The production route should preserve that distinction from job entry through packing.
What does the jamb section need to match?
The section relates to the wall, the door leaf, the stop or rebate and any specified seal. Its dimensions should follow the selected door-frame construction. A nominal wall depth or door size does not define all of those interfaces.
Provide the complete jamb drawing and the mating head or corner reference. If the frame includes an adjustable or split construction, show both parts and their assembly relationship. A profile that looks like a jamb is not necessarily compatible with the intended frame family.
Which dimensions are functional?
- Wall-receiving depth and return geometry.
- Rebate, stop and door-contact references.
- Seal accommodation where specified.
- Hinge or strike mounting faces.
- Corner and bottom-end details.
- Finished length and straightness.
Use explicit internal or external measurement conventions. The same dimension name can be interpreted differently if a stepped section has several possible reference surfaces. Resolve that ambiguity before tool design.
How should hinge and strike jambs be distinguished?
Define the required hardware schedule and handing convention in the job data. A hinge jamb and a strike jamb may share a formed section while having different preparations and reinforcement. Their identity must remain clear after cutting and collection.
Include representative paired jambs in trials, not only one convenient member. Check which end serves as the vertical reference and how features are oriented. A pattern with correct internal spacing can still be wrong if measured from the opposite end.
Part marks or labels should support the assembly team without relying on visual recognition of small cutouts. This is especially useful when several door heights or hardware schedules are produced in one shift.
What does the manufacturing sequence include?
- Release the profile, member length, handing and hardware schedule.
- Identify and guide the specified strip.
- Create included fixing, hinge, strike or corner features.
- Develop the jamb's rebates, stops and returns progressively.
- Cut and prepare the top and bottom ends.
- Add required reinforcement or attachments.
- Inspect and identify the jamb for its matched frame set.
The order of feature-making and forming depends on the proposed equipment. Ask how final feature positions are controlled and which operations remain separate. The accepted output should be clearly defined as a formed blank, prepared jamb or complete frame member.
How should hardware preparations be specified?
Use the intended hardware drawings and show the complete preparation, including local support or reinforcement where required. A visible opening alone may not describe the attachment method. Different hardware families can need different tools and secondary work.
Measure feature positions from the finished jamb datums after forming and end preparation. Check seating and access with the actual hinge or strike reference. Local distortion or a changed return can affect the interface even when the opening dimensions are correct.
Where multiple schedules share a profile, request a supported-pattern matrix. Programmable positioning does not mean that every new feature shape is available without another die or operation.
What material and finish inputs are needed?
Specify grade, base-metal thickness, strip width and finish for each jamb family. The material affects springback through the stepped bends and the condition of prepared areas. Use actual production stock in acceptance trials.
Identify visible surfaces and the final finishing route. Inspect bends, hardware regions and ends after the relevant operations. If coating follows fabrication, fit and appearance should be assessed in the intended final condition as required by the product plan.
Retain material records with accepted setup samples. If a later jamb becomes difficult to assemble, compare stock, forming, feature work and finishing rather than assuming the main bend tools are always responsible.
How should frame-depth changes be evaluated?
A line may adjust wall depth while retaining a particular stop or rebate arrangement, but that capability should be explicit. Changes to returns, seal details or hardware faces may require different tools. Separate those dimensions in the configuration matrix.
For each change, identify rolls, guides, punches, cutting components and fixture settings. Demonstrate the first accepted jamb and its hardware or corner fit, then return to the original configuration. Include inspection and setup scrap in the recovery time.
If the same machine makes heads or other frame profiles, include their transitions in the actual schedule. Shared equipment is useful only when it can deliver matched component sets at the required rate.
Why do top and bottom ends need separate drawings?
The top end may connect to a head through a mitre, notch, tab or another detail, while the bottom can follow a different installation requirement. The machine should not treat them as identical simply because both are ends of the same longitudinal profile.
Specify the reference used for length and hardware positions after end preparation. Removing material at an end can change the relationship if the control system and drawing use different assumptions. A clear datum scheme prevents that error.
Inspect end flare and local deformation after normal collection. A correct mid-length section does not prove that the corner or hardware near the end remains usable.
How should reinforcement and joining be included?
Identify the plates, brackets or other attachments required by the jamb design and the approved joining method. They may be manufactured separately or purchased. The former's ability to make an opening does not complete those supporting details.
Check the jamb before and after attachment. Joining can alter straightness or a hardware seating face, so final inspection should include the completed member. If a deviation appears only after joining, changing the roll tools may address the wrong stage.
Keep the production boundary explicit in quotations and acceptance. A prepared jamb with reinforcement is a different deliverable from a raw formed profile.
What should a matched-frame trial demonstrate?
Assemble the intended hinge jamb, strike jamb and head using the selected corner method. Check opening geometry, stop alignment and hardware positions. Use the intended leaf or controlled references where they are part of the trial plan.
Record unplanned bending, trimming or force. A final frame photograph can hide corrections that would be unacceptable in routine production. Combine assembly observations with member measurements to identify the cause of any mismatch.
The trial verifies manufacturing fit. Fire, security, acoustic or other assembly performance requirements remain tied to the complete product's relevant design and evidence, not to the former alone.
How should handling and order identification work?
Protect rebates, visible faces and prepared hardware areas during collection. Group members by the intended frame set or clearly marked stock reference. Similar lengths with different hardware schedules should not be nested together without identification.
Separate incomplete jambs awaiting reinforcement or finishing from accepted members. For project orders, the count should show completed hinge and strike sides, not merely total pieces. This prevents apparently full bundles from containing the wrong component mix.
How should output and acceptance be assessed?
Measure accepted prepared jambs or matched frame sets for a representative order. Feature-making, reinforcement, end preparation and sorting can govern the practical rate. A profile-only speed does not establish the output of ready-to-assemble jambs.
- Verify section and material configuration.
- Measure hardware features from the correct finished end.
- Check handing, reinforcement and part identity.
- Inspect top and bottom end details.
- Assemble representative matched frames and hardware.
- Demonstrate required profile and schedule changes.
- Inspect final finish, packing and accepted quantities.
Retain paired jamb references and setup records. They give operators and assemblers a common benchmark for repeat orders.
Frequently asked questions
Is a jamb just a shorter frame profile?
No. Its vertical hardware schedule, handing and end details are functional requirements. The longitudinal section is only one part of the prepared jamb specification.
Can the same section make hinge and strike jambs?
It may, but their preparations, reinforcement and identification can differ. Demonstrate both required members and preserve their identities through production and packing.
Why specify which end is the datum?
Feature positions must relate to the finished assembly consistently. Correct spacing measured from the wrong end can produce an unusable jamb. End preparation and control logic should use the same defined references.
Does the machine install reinforcement?
Only if the attachment equipment and process are included. Reinforcement is a separate production requirement that should be shown in the drawing and supply scope.
Can wall depth change without new tools?
Possibly within an agreed profile family. Changes to stops, rebates or returns may need other tools. Review the full configuration matrix and inspect a completed jamb after the transition.
What should an enquiry include?
Provide jamb, head, corner and hardware drawings, material and finish, handing conventions, lengths and order mix. State whether the output is a blank or fully prepared member. This makes the equipment proposal precise.

Continue your research
- Door & Window Profile Roll Forming Machines
- Steel Door Frame Roll Forming Machine
- Window Frame Roll Forming Machine
- Hollow Metal Door Frame Roll Forming Machine
- Garage Door Track Roll Forming Machine
- Door Reinforcement Channel Roll Forming Machine
- How Door frame roll forming machine Works
- How To Choose a Door frame roll forming machine
- Door frame roll forming machine Price: What Affects the Cost?
Configuration & specification inputs
Match the configuration to your section drawing, material and production requirements.
| Parameter | Requirement / confirmation needed |
|---|---|
| Profile geometry | Jamb wall depth, rebate, stop and hardware seating faces |
| Material | Specified steel grade, thickness and final finish by jamb family |
| Thickness & grade | Approve actual profile/material combinations used in prepared jamb production |
| Process route | Handed job data, features, stepped forming, top/bottom preparation, reinforcement and set identification |
| Cutting | Maintain distinct top/bottom details and hardware references from the correct finished end |
| Output | Accepted prepared hinge/strike jambs or matched frame sets |
| Electrical supply | Confirm forming, feature, end-preparation, joining and handling utility requirements |
| Acceptance | Measure finished hardware datums, verify handing and reinforcement, and assemble matched jamb/head sets |