
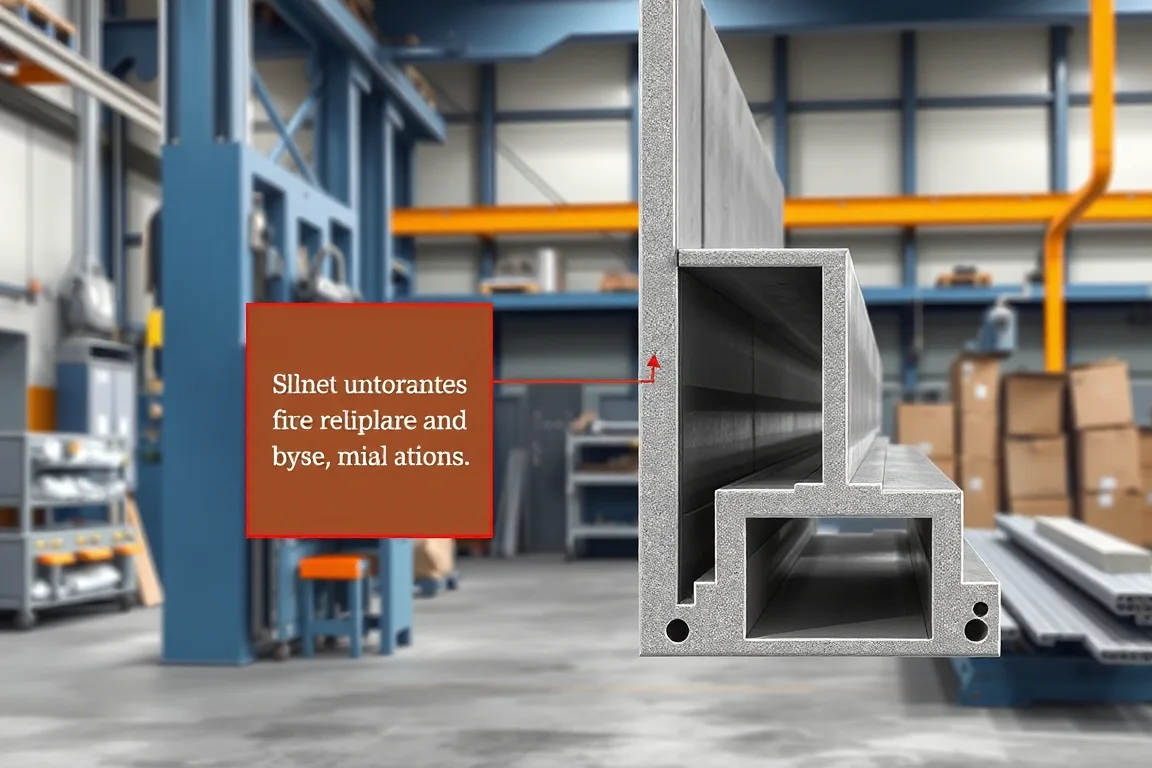
Door frame roll forming machine troubleshooting is the structured practice of tracing an out-of-specification frame back to its origin: incoming coil, forming stations, cut-off, corner assembly, or handling after the line. Because a door frame is a joined assembly, not just a rolled section, defects can appear only after two formed parts are brought together. That means the first diagnostic step is to identify whether the fault is present in the straight section, introduced at the cut, created during joining, or caused by handling and storage.
Why frame defects often start after the forming mill
A frame that is out of square may originate in assembly rather than the forming mill. The roll former produces straight or curved sections; it does not inherently control the squareness of the final joined frame. If corners are joined on a separate bench, a fixture that is worn or mis-set can distort an otherwise acceptable section. Likewise, a frame that twists after assembly may have been forced into a corner joint that did not match the intended geometry.
This distinction matters because troubleshooting effort aimed at the mill is wasted if the true origin is the assembly fixture. The practical approach is to compare like with like: inspect the straight sections, the corner preparations, and the joined frame in sequence. If the straight sections meet drawing requirements but the joined frame does not, the forming process is not the primary suspect.
Symptoms that point to material or coil variation
Incoming material variation is a frequent cause of intermittent defects. A change in coil lot can shift yield strength, thickness, or surface condition enough to alter springback and bend radii. Symptoms include a shape that was acceptable on one coil but drifts on the next, or a frame that forms correctly at the start of a coil and degrades toward the end.
Protective film, coil set, and edge condition also influence forming behavior. A film intended to protect the visible face can affect friction in the rolls and can be damaged if the forming sequence is not suited to it. Stainless or other alloys need separate tooling validation because their work-hardening and springback characteristics differ from mild steel. The troubleshooting question is not whether the material is good or bad, but whether the current material matches the assumptions built into the tooling and setup.
Diagnosing dimensional drift in the formed profile
Dimensional drift in the formed profile usually appears as a gradual change in flange angle, web width, or return dimension. The first evidence to collect is a comparison of the same measurement taken at the same point on consecutive parts, using the same method and reference. If the drift follows a coil change, material is a likely contributor. If it follows a setup change, the setup is a likely contributor.
Roll condition matters as well. Worn bearings, loose roll stands, or a shaft that has shifted can produce a profile that changes over a run. Visible marks or scoring on the strip can indicate that a roll is contacting the material where it should not. However, any inspection of rolls or adjustments to roll stands should be done only under the equipment manufacturer’s procedure and with the line stopped and energy isolated. Do not reach into running machinery or improvise adjustments around stored energy.
Cut-off quality and length variation
Cut-off problems show up as burrs, deformation at the cut end, or inconsistent cut lengths. A profile-supported cut-off is intended to hold the section shape while the blade or shear passes through. If the support is worn or the die clearance is incorrect, the cut end may collapse or flare. Length variation can come from measuring roll slip, acceleration and deceleration of the feed, or a stop that is not repeating.
To isolate the cause, compare the cut length and end condition before and after the cut-off station, if that is safely observable. A part that is correct before the cut and incorrect after points to the cut-off station. A part that is already incorrect before the cut points upstream. Confirm profile-supported cutoff, cut lengths, end quality, and any secondary operations with the equipment supplier, because the acceptable end condition depends on how the frame will be joined and finished.
Corner joint and hardware fit problems
Corner joint problems often appear as gaps, interference, or difficulty installing hinges and latch hardware. A frame that measures correctly as a straight section can still fail at the corner if the corner preparation is not matched to the joining method. For example, a mitered corner and a butt-jointed corner place different demands on the forming geometry and the assembly fixture.
Hardware fit adds another variable. Hinge and latch features are typically punched or formed into the section, and their position relative to the rebate and seal land determines whether the hardware seats correctly. Inspect rebates and seal lands, then test actual hardware and a representative corner joint. Measure the finished frame after assembly as well as the unjoined section. If hardware fits on a loose section but not on the assembled frame, the assembly process is distorting the frame or the corner preparation is not closing correctly.
Surface finish, marking, and handling defects
Surface defects such as scratches, roll marks, or film damage may originate in the mill, but they can also occur during runoff, stacking, or transport. Visible surfaces, weldability, and finish sequence influence the material choice, and the side intended to face outward should be identified. A defect that appears only on the visible face after handling may be a handling issue rather than a forming issue.
To separate forming from handling, trace the part through the line and record where the defect first appears. If the mark is present immediately after forming but before stacking, the mill is the likely source. If it appears only after stacking or moving, the handling method is the likely source. This distinction prevents unnecessary changes to the forming setup.
What to record before changing anything
Useful troubleshooting depends on evidence. Document the defect with part identity, coil lot, drawing revision, and measurement conditions. Note whether the fault started at a coil change or a setup change. Record the measurement method and the reference used, because comparing measurements taken differently can create false conclusions.
Keep a known-good reference part and use the same measurement method on it. Change one controlled variable at a time under the equipment manufacturer’s procedure. Escalate safety-related or qualified-process changes to the responsible engineer. This disciplined approach is more reliable than making multiple adjustments at once, which can obscure the true cause.
Decision checklist for troubleshooting
- Record whether the fault starts at a coil or setup change.
- Separate forming, cutting, joining, and handling effects.
- Keep a known-good reference and use the same measurement method.
- Confirm that the material grade, thickness, and surface condition match the tooling assumptions.
- Inspect rebates and seal lands before testing hardware.
- Test a representative corner joint, not just a loose section.
- Measure the finished frame after assembly as well as the unjoined section.
- Change one controlled variable at a time, under the equipment manufacturer’s procedure.
- Escalate safety-related or qualified-process changes to the responsible engineer.
Comparing troubleshooting alternatives
When a defect appears, there are several possible responses, each with tradeoffs. One option is to adjust the forming mill. This can be effective if the defect is a dimensional drift in the straight section, but it can also introduce new problems if the real cause is material or assembly. Another option is to change the material or coil lot. This may resolve springback or surface issues, but it requires confirming that the new material is compatible with the tooling and the finished product requirements.
A third option is to modify the assembly fixture or joining method. This is appropriate when the straight sections are correct but the joined frame is not. A fourth option is to improve handling and storage. This is appropriate when defects appear after forming. The tradeoff is that each option addresses a different part of the process, so choosing the wrong one can waste time and obscure the root cause.
A fifth option is to accept the defect and compensate downstream. This is sometimes done when the defect is cosmetic or when the frame will be finished or covered. The risk is that compensation can mask a growing problem and may not be acceptable for structural or fire-rated assemblies. A fire-door frame machine does not certify a fire-rated assembly. Rating depends on the complete tested and approved door system, including installation.
FAQ
Why is my door frame out of square after assembly?
Out-of-square frames often originate in the assembly fixture or corner joining process rather than the forming mill. The roll former produces sections, but squareness of the joined frame depends on how those sections are held and joined. Compare the straight sections against the drawing first. If they are within specification, inspect the assembly fixture, corner preparation, and joining method.
What causes dimensional drift during a production run?
Dimensional drift can come from material variation, roll wear, thermal effects, or a setup that is not stable. Check whether the drift follows a coil change or a setup change, and whether it appears gradually or suddenly. A gradual drift over many parts often points to wear or thermal growth, while a sudden change points to a setup or material change.
How can I tell if the cut-off station is causing burrs or deformation?
Compare the part immediately before and after the cut-off station, if that is safely observable. If the end condition is acceptable before the cut and defective after, the cut-off station is the likely source. Check for worn dies, incorrect clearance, or lack of profile support. Confirm the correct cut-off setup with the equipment supplier.
Why does hardware fit on a loose section but not on the assembled frame?
This usually means the assembly process is distorting the frame or the corner preparation is not closing correctly. The hardware features may be correctly placed in the flat or formed section, but joining forces can change the local geometry. Test hardware fit on a representative corner joint and on the finished frame, not only on a loose section.
What should I record when a defect appears?
Record part identity, coil lot, drawing revision, and measurement conditions. Note whether the fault started at a coil change or a setup change. Keep a known-good reference and use the same measurement method. This record helps distinguish between material, forming, cutting, joining, and handling causes.
Can I adjust the machine while it is running?
No. Do not reach into running machinery or improvise adjustments around stored energy. Any adjustment to rolls, cut-off, or other moving parts should be done with the line stopped and energy isolated, following the equipment manufacturer’s procedure. Escalate safety-related or qualified-process changes to the responsible engineer.
When to escalate to the equipment supplier or engineer
Some troubleshooting steps are within the scope of a trained operator, such as recording measurements and comparing parts. Others, such as changing roll settings, modifying tooling, or altering a qualified process, should be escalated to the responsible engineer or the equipment supplier. If the defect affects safety, structural performance, or fire rating, it should be treated as a qualified-process change.
Before contacting the supplier, gather the documentation described in the checklist. A clear record of the defect, the conditions, and the steps already taken helps the supplier provide relevant guidance and reduces the chance of misdiagnosis.
Keeping troubleshooting effective over time
Effective troubleshooting is a habit, not a one-time fix. Maintain a log of defects, causes, and corrective actions. Review the log when a new coil lot or setup change occurs. This practice builds a reference base that makes future diagnosis faster and more accurate. It also helps distinguish a recurring material issue from a machine issue.
Because door frame production involves forming, cutting, joining, and handling, a defect can originate in any of these areas. The most reliable approach is to isolate the stage where the defect first appears, change one controlled variable at a time, and document the result. This keeps the process stable and makes the next troubleshooting event easier to resolve.
Continue your research
- Door & Window Profile Roll Forming Machines
- Steel Door Frame Roll Forming Machine
- Window Frame Roll Forming Machine
- Hollow Metal Door Frame Roll Forming Machine
- Garage Door Track Roll Forming Machine
- Door Reinforcement Channel Roll Forming Machine
- How Door frame roll forming machine Works
- How To Choose a Door frame roll forming machine
- Door frame roll forming machine Price: What Affects the Cost?