
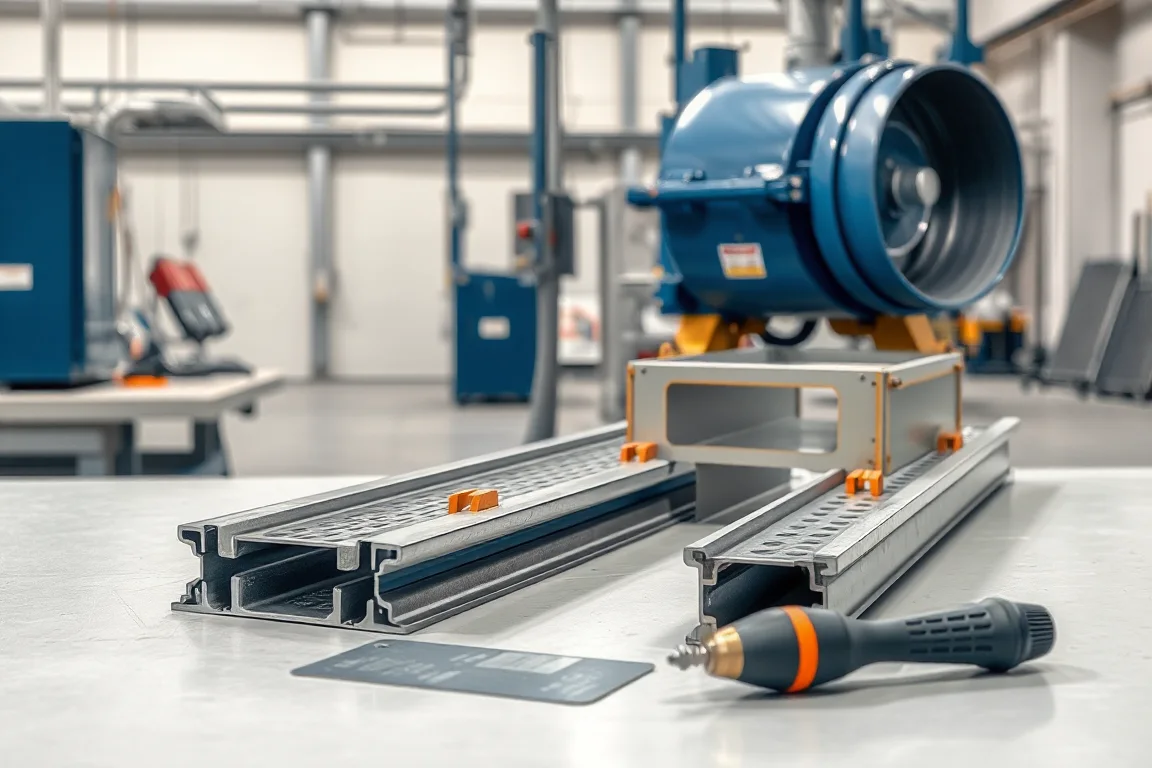
Choosing a cable tray roll forming machine starts with your order book, not a machine brochure. Cable tray is a family of products: solid-bottom tray, perforated tray, trunking, ladder tray, covers, and support components. Each has different forming steps, tooling, and cut-off requirements. A line that makes one width and one perforation pattern at high output is a different asset from a line that changes width and pattern frequently. This guide builds a selection method around a product/material/width/perforation matrix, then applies it to dedicated versus adjustable routes, cut-off and end features, accepted output measurement, handling scope, and a representative trial basket.
Start with the tray family matrix
List every tray variant you expect to sell in the next two to three years. For each, record four attributes: tray type, material and thickness range, nominal width and depth, and perforation pattern. This matrix is the foundation for comparing lines. If your matrix contains many widths with the same pattern and material, an adjustable-width line may be efficient. If it contains a few high-volume widths with different patterns, dedicated lines or quick-change tooling may be better.
Also note the ratio of straight lengths to accessories. Cable tray orders often include covers, bends, tees, and support components. These may be made on separate equipment or purchased. If you plan to form covers on the same line, the matrix must include cover width and edge profile. Do not assume a line that forms tray can automatically form covers without additional tooling.
Separate tray, trunking, ladder and supports
Tray, trunking, ladder, and supports are distinct product families. Solid-bottom tray uses a continuous bottom and side walls. Perforated tray adds holes in the bottom, sides, or both. Trunking has its own enclosure and cover interface; its size and tolerance requirements must come from the specified design rather than an assumed ranking against tray. Ladder tray has two side rails connected by rungs or cross members, which requires different forming and assembly steps. Supports such as brackets, hangers, and splice plates are usually made on separate presses or roll forming lines.
A single roll forming line rarely makes all four families without significant tooling changes. When comparing suppliers, ask which families the proposed line is configured for, and which require additional stations, uncoilers, or offline operations. If your order mix includes trunking and ladder, you may need two lines or a line with interchangeable tooling cassettes. Treat supports as a separate scope unless the supplier explicitly includes tooling for them.
Match width, depth and material combinations
Width, depth, and material are linked. A line that forms a wide, thin-gauge tray may not have the rig structure or roll diameter to form a narrow, thick-gauge tray without deflection or edge wave. For each matrix row, note the width range and the material thickness range. Then ask how the line adjusts width: moving side rolls, changing spacers, or swapping complete roll sets. Depth adjustment may be fixed for a given side roll set or may require changing forming stations.
Material also affects tooling. Steel, stainless steel, and aluminum have different springback and surface sensitivity. A line set up for mild steel may need different roll geometry or surface treatment for stainless. If your matrix includes more than one material, list the material for each row and ask which rolls are dedicated to which material. Do not accept a single processing range without understanding how it changes with material and width.
Compare perforation methods and tool changes
Perforation can be done inline with a punching station or offline on a separate press. Inline punching is faster for high-volume patterns but adds tooling and setup complexity. Offline punching is more flexible for low volumes and many patterns but adds handling and labor. The choice depends on your matrix: if most orders use one or two patterns, inline may be efficient; if patterns vary widely, offline or a quick-change punching station may be better.
Tool change time matters. Ask how long it takes to change from one width to another, from one pattern to another, and from one material to another. A line with quick-change cassettes may cost more but reduce downtime. A line with fixed rolls may be cheaper but only suitable for a narrow product mix. Request a changeover procedure and estimated time for each change in your matrix.
Dedicated versus adjustable width routes
A dedicated line is set for one width or a narrow width range. It can be simpler, faster, and less expensive per unit if your volume is high and stable. An adjustable line can change width by moving side rolls or changing spacers. Its cost and rate depend on the supplied arrangement; compare demonstrated coverage and recovery on the required matrix. The right choice depends on order frequency and batch size. If you make the same width every day, dedicated may be best. If you make many widths in small batches, adjustable may be better.
Consider a hybrid: an adjustable line with dedicated cassettes for your top-selling widths. This can give fast changeover for common sizes and flexibility for others. When comparing quotes, ask for the width adjustment method, the number of widths that can be set without removing rolls, and the time required for each adjustment.
Cutoff, cover and end-feature scope
Cutoff is not just a saw or shear. It determines end quality, burr, and whether you can cut holes or notches in the same cycle. For cable tray, cut-off may need to handle the tray profile without deformation. Ask about cut-off type: shear, saw, or punch. Each has different speed, burr, and maintenance. If your orders require clean ends or specific end features such as splice holes or notches, confirm whether the line can produce them inline or if secondary operations are needed.
Covers are often a separate product. If you plan to make covers on the same line, the line must have tooling for cover edges and cut-off. Cover width and material may differ from tray, so the matrix must include covers as separate rows. End features such as flanges, returns, or coupling holes may require additional stations or offline tooling. List all end features in your matrix and ask the supplier to confirm which are included.
Measure accepted output on real orders
Do not rely on a single speed specification. Accepted output is the number of good parts per shift, including changeovers, setup, and downtime. To compare lines, create a test scenario based on a real order: for example, a hypothetical order of 500 straight lengths, 200 covers, and 50 accessories, with three width changes and two pattern changes. Estimate the time for each operation on each line, then calculate good parts per hour. This is more useful than a line speed in meters per minute.
Ask for a time study or run a trial with your material and profiles. Measure output, changeover time, and scrap rate. If a trial is not possible, ask for references from similar product mixes. Remember that output depends on operator skill, material, and maintenance. A line that runs fast on one profile may run slower on another. Use the matrix to define the test conditions.
Installation, handling and service scope
Obtain the actual foundation, power and any compressed-air requirements from the agreed equipment and site design. Ask what is included in the quote: unloading, installation, commissioning, training, and documentation. Also ask about handling equipment for coils, finished parts, and tooling. Coil handling may require a decoiler, coil car, and shear. Finished part handling may require conveyors or stacking tables. If these are not included, add them to your budget and timeline.
Service scope should cover spare parts, technical support, and maintenance intervals. Ask for a recommended spare parts list and lead times. If the line uses proprietary controls or tooling, ensure you can get replacements. Clarify warranty terms and what is covered. A line that is cheap to buy but expensive to service can cost more over its life.
Build a representative trial basket
A trial basket is a set of samples that represents your product mix. Include the widest and narrowest widths, the thickest and thinnest materials, the most common perforation patterns, and at least one cover and one end feature. Run these on the candidate line and inspect dimensions, hole quality, burrs, and straightness. Measure changeover time between basket items. This shows how the line performs on your actual work, not a demonstration profile.
If a trial is not possible, ask for samples from similar projects and a detailed process plan. Compare the trial results with your acceptance criteria. If the line cannot produce your basket within tolerance, it is not the right choice regardless of price.
Quote comparison checklist
Use this checklist to compare quotes on equal terms. Missing items can make a low quote look better than it is.
- Product families covered: tray, trunking, ladder, covers, supports
- Width, depth, and material ranges for each family
- Perforation method: inline or offline, pattern change time
- Width adjustment method and time
- Cut-off type and end features included
- Coil handling and finished part handling included
- Installation, commissioning, and training included
- Spare parts list and lead times
- Warranty terms and service support
- Trial or sample results and acceptance criteria
FAQ: How do I decide between a dedicated and an adjustable width line?
Compare your order frequency and batch size. When a small set of widths dominates demand, evaluate a dedicated route using actual utilization, transition work and accepted-part cost; there is no universal percentage cutoff. If you regularly run many widths in small batches, an adjustable route may reduce particular tool changes, but full recovery time and tooling inventory should be demonstrated. Consider a hybrid with dedicated cassettes for top widths.
FAQ: Can one line make both tray and trunking?
Sometimes, but it depends on the profile and tooling. Trunking has its own specified tolerances and cover-edge profile. A line configured for tray may need additional stations or interchangeable roll sets for trunking. Ask the supplier to confirm which families the proposed line can make without major modification.
FAQ: What should I include in a trial basket?
Include the extremes of your matrix: widest and narrowest widths, thickest and thinnest materials, most common perforation patterns, and at least one cover and end feature. Run the basket on the candidate line and measure dimensions, hole quality, burrs, straightness, and changeover time. This shows real performance on your work.
FAQ: How do I compare output claims from different suppliers?
Convert claims to accepted good parts per shift using your trial basket. Ask for changeover times and scrap rates. Calculate output for a representative order that includes width and pattern changes. Do not compare line speed alone; it ignores setup and downtime.
FAQ: What service and spare parts should I expect?
Expect a recommended spare parts list with lead times, technical support contact, and maintenance intervals. Clarify warranty coverage and whether proprietary controls or tooling can be serviced locally. Include service costs in your total cost of ownership.
Continue your research
- Cable Tray Roll Forming Machines
- Cable Tray Roll Forming Machine
- Cable Ladder Roll Forming Machine
- Solid Bottom Cable Tray Roll Forming Machine
- U Channel Cable Tray Roll Forming Machine
- Cable Support Channel Roll Forming Machine
- How Cable tray roll forming machine Works
- Cable tray roll forming machine Price: What Affects the Cost?
- Materials and Thickness for Cable tray roll forming machine