
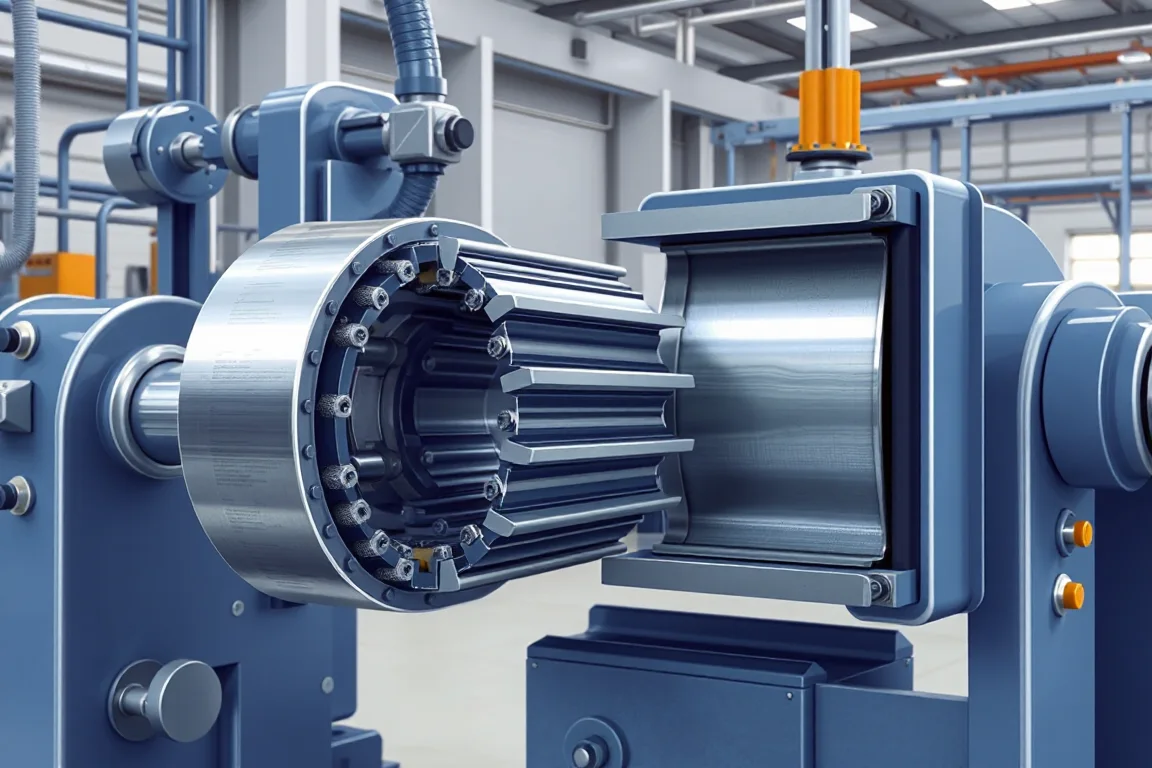
A roller shutter roll forming machine converts flat metal coil into continuous profiled slats whose edges are shaped to interlock, so the finished shutter can articulate at every joint, coil into a compact roll and still resist lateral load when it is lowered into its guides. The machine does not produce a shutter by itself. It produces slat lengths that become a curtain only after end treatment, guide engagement and assembly. Understanding how the machine works means following a part from the uncoiler through each process boundary and then out of the line into the assembly route.
The core sequence: coil to finished slat
Most lines follow a recognizable order. Coil is mounted and fed through a straightener or leveler, then into a series of forming stations. Each station carries a pair of rolls that bends the strip a little at a time until the face and the two edges reach the required profile. After forming, the interlocking edges are developed or finished, optional operations such as perforation or insulation may be added, and the strip is cut to length. The apparent simplicity hides the fact that each arrow is a process boundary with its own tooling, referencing and quality risk.
Why progressive forming needs many small bends
A shutter slat has a visible face, one or two interlocking hooks and often a shallow stiffening form. Trying to produce all of that in one pass would strain the material and distort the edges. Progressive forming distributes the total bend angle across many stations so each roll does a small amount of work. The number of stations depends on profile complexity, material grade and thickness, and the amount of edge detail. A flat-face slat with a simple hook generally needs fewer stations than a curved-face or end-lock profile.
The trade-off is not simply more stations equals better. More stations mean longer changeover, more roll sets to maintain and more places where strip tracking can drift. Fewer stations reduce complexity but can force aggressive bends that mark coated surfaces or open the interlock. This is why roll and tooling design is a separate engineering decision from machine frame size.
How the interlocking edges are actually formed
The interlock is the feature that makes a shutter a curtain rather than a stack of strips. The hook on one slat must engage the corresponding hook on the next while allowing rotation as the curtain coils and uncoils. That geometry is created by edge-forming passes that are distinct from the passes forming the visible face. The edge rolls must control both the hook height and the gap that accepts the mating slat.
Interlock development is sensitive to material springback. Coated steel and aluminum recover differently after bending, so the same roll setting can produce a loose or tight joint depending on the incoming coil. The machine can compensate through roll position, but the fundamental limit is set by the profile design and the material specified. Buyers should evaluate the interlock as a pair of mating slats, not as a single cross-section.
Optional operations and where they change the line
Perforation, insulation and other secondary features are often shown inside the same sequence, but they are not equally integrated. Perforation can be punched or pierced in line, yet the holes interrupt the strip and can affect slat stiffness and edge straightness. If perforation is placed before final edge forming, the material around the holes may distort during later bends. If it is placed after forming, the tooling must reach a shaped surface and the scrap handling is different.
Insulated constructions are a larger departure. Foam-filled slats and sandwich garage-door panels require additional materials, joining or filling equipment and separate quality checks. A standard single-skin forming line does not become an insulated-panel line by adding one station. The insulation process is usually a separate manufacturing route that may happen in line or offline, and the interface between the two must be defined.
Cutoff and end quality
The cutoff is the last operation inside the line and one of the most revealing. A shear or die cut must suit the formed profile, because the slat is no longer a flat strip at that point. The cut must not crush the interlock, leave a burr that snags the guide, or distort the face. Cut length accuracy and end squareness matter because the slat ends are what the end locks and guide clearance ultimately reference.
Some profiles need a secondary operation after cutting, such as notching for an end lock or trimming an edge. The line layout should show whether that operation is inside the machine, a separate station, or a manual step. An operation omitted from a quotation still has to happen somewhere, and someone must own the tooling and the interface.
From slat to curtain: the assembly interface
A completed slat is not yet a shutter. The curtain is assembled from multiple slats joined through their interlocks, fitted with end locks and then run into guides. Each of those steps has tolerances that accumulate. A slat that looks correct on its own can still produce a curtain that binds, because the interlock fit, the end treatment and the guide clearance together determine whether the curtain moves freely.
This is why acceptance should be based on an assembly, not on individual parts. Assemble several slats with the intended guide profile and end locks, then check movement and clearances through the intended travel. Inspect the interlock coating and the cut ends for damage. The curtain must articulate and coil as a unit, so the test is dynamic rather than a static cross-section check.
How material and thickness affect the process
Coated steel and aluminum behave differently in the same tooling. Coating type and adhesion affect how much surface deformation the material tolerates before marking or flaking. Base-metal grade affects yield strength and therefore springback. Thickness affects bend radius, forming loads and the clearance needed at the interlock.
This is not a universal recipe. A profile that runs cleanly in one material may need different roll settings, different edge passes or a different cutoff approach in another. The practical approach is to define the material and base-metal thickness range as a requirement, then confirm that the proposed line can reproduce the interlock across that range. Operating range claims require verification with the actual coil and profile.
What leaves the line and what happens elsewhere
The line's physical sequence ends at cutoff. The complete manufacturing route continues through end treatment, curtain assembly, guide fitting, hardware installation and final testing. Distinguishing these two is essential when evaluating a proposed layout. A quotation that covers only forming and cutoff leaves the remaining operations to be sourced, tooled and scheduled elsewhere.
Comparing machine configurations
Prospective buyers usually compare a few broad arrangements. A dedicated single-profile line is simplest to run and tune, but it limits future product changes. A line with interchangeable roll sets offers more profile flexibility, at the cost of changeover time, storage and operator skill. A line that includes in-line perforation or edge notching reduces handling but adds tooling and scrap management. A line feeding a separate insulation or panel process moves complexity outside the forming machine.
The right balance depends on how many profiles the business expects to sell and how often they change. High mix favors flexibility; a stable, high-volume single profile favors a dedicated setup. Neither is inherently superior, and the decision should be tied to the actual product plan rather than to a generic preference for more stations or more integrated functions.
Practical evaluation checklist
- Walk one actual drawing through the proposed process from coil to finished curtain.
- Mark every point where the part is gripped, referenced, punched, bent, cut, joined or inspected.
- Identify the input and output of each station, and note where the strip is released and re-referenced.
- Distinguish the line's physical sequence from the complete manufacturing route.
- Confirm how a part is referenced again after cutting or after any secondary operation.
- Check that the interlock is evaluated as a mating pair, not as a single slat.
- Confirm the cutoff supports the formed profile and produces acceptable ends.
- Clarify who supplies tooling and who is responsible for each interface.
- Define accepted output per shift using the actual profile and material, not a headline figure.
- Assemble multiple slats with the intended guide and end locks, then check movement and clearances.
Frequently asked questions
How does a roller shutter roll forming machine turn flat coil into an interlocking slat?
Flat coil is fed through a straightener and then through a series of roll stations. Each station bends the strip slightly until the face and edges reach the profile. Edge-forming stations develop the hooks that will engage the adjacent slat. After forming, optional operations may be added and the strip is cut to length. The interlock exists because the edge passes are shaped to a mating geometry, not because the face pass alone is correct.
Why is the interlock checked as a pair of slats rather than on its own?
The interlock only functions when two slats engage. A single cross-section can look correct while the hook height, gap or springback leaves the joint too loose or too tight to articulate. Checking a pair with the intended guide and end locks reveals whether the curtain can coil and travel without binding.
Can one line produce both flat and curved-face shutter slats?
Often it can if the roll sets and edge tooling are designed for each profile, but the line must be changed over and the cutoffs must suit each shape. The practical question is how much changeover time and operator skill the business can accept. A line optimized for one profile may be faster and simpler to tune.
Where does insulation fit in the sequence?
Insulation is generally not part of a standard single-skin forming line. Foam-filled slats and sandwich garage-door panels require additional processing, joining or filling equipment and separate quality checks. The insulation step may occur in line or offline, but it should be shown as its own process boundary with defined responsibility.
What determines whether cutoff quality is acceptable?
Cutoff must suit the formed profile, not a flat strip. The cut should not crush the interlock, distort the face or leave burrs that interfere with the guides. End squareness and length accuracy matter because the slat ends reference the end locks and guide clearance. Any secondary end operation should be identified and assigned.
How should accepted output be defined for a proposed line?
Accepted output should be defined with the actual profile and material, per shift, including realistic stops for changeover, inspection and handling. A headline rate without those conditions is not a working figure. The buyer and supplier should agree on what counts as accepted output and how it will be measured.
What is the most common mistake when planning a roller shutter production route?
Treating the forming line as the whole manufacturing route. Operations after cutoff, such as end treatment, curtain assembly, guide fitting and hardware installation, still have to be done. If they are not in the layout or the quotation, they are unassigned, and the interface between the line and the assembly process becomes a source of delay and quality problems.
Continue your research
- Roller Shutter Door Roll Forming Machines
- Roller Shutter Slat Roll Forming Machine
- Rolling Shutter Guide Rail Roll Forming Machine
- Flat Roller Shutter Slat Roll Forming Machine
- Curved Roller Shutter Slat Roll Forming Machine
- Perforated Roller Shutter Slat Machine
- How To Choose a Roller shutter roll forming machine
- Roller shutter roll forming machine Price: What Affects the Cost?
- Materials and Thickness for Roller shutter roll forming machine