
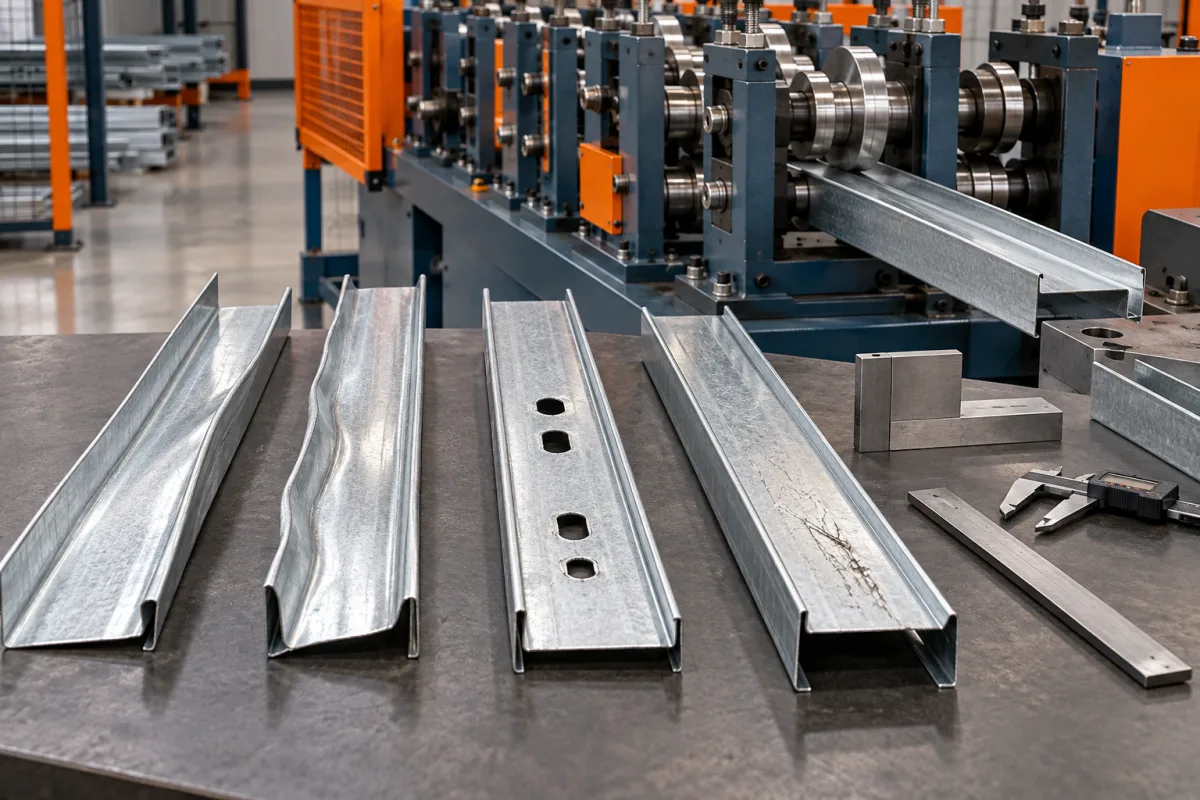
Stud and track troubleshooting should begin with the matched framing pair. A stud can appear dimensionally close yet fail to enter its track because the actual receiving relationship is wrong. Other problems involve service holes, cut ends or bundle identity rather than the forming silhouette. Separating these categories makes corrective work more reliable.
Identify the correct pair and material
Record the stud and track drawing revisions, coil identities, lengths and feature patterns. Confirm that the samples belong to the intended pair. Similar trade sizes or mixed bundles can create an apparent machine problem when the wrong products are being compared.
Retain measured baseline samples and note recent size, product or material changes. Avoid changing settings before the evidence is captured. Otherwise, the team may lose the distinction between the original defect and the effects of attempted correction.
When the stud will not fit the track
Measure the actual mating geometry using the approved references. Check the stud flanges and lips, the track receiving section and the condition of the ends. A nominal web-size match is not sufficient evidence of compatibility.
Determine whether interference occurs throughout the length or only at an end. Local cutting damage and a consistently incorrect section require different investigations. Do not force or manually reshape the members merely to make the sample appear acceptable.
When the fit seems excessively loose
Use the framing product's acceptance criteria rather than an unrelated sample or subjective expectation. Verify that both members have the correct actual dimensions and material. A wrong track variant can resemble a forming error in the stud.
Review changes in coil or configuration and compare the accepted reference pair. Any correction should be controlled and checked against the complete assembly. Tightening one dimension without understanding the relationship can introduce another problem.
When lips or flanges are inconsistent
Confirm the developed strip width and the selected product setup. The same nominal web can be used in sections with different flange or lip requirements. Check that the tool references correspond to the intended drawing.
Measure identified positions along representative members and compare both ends with the center. Qualified personnel can then investigate material, guidance or tooling conditions under the equipment's procedures. An isolated convenient coupon may miss variation elsewhere.
When members twist or bend during production
Inspect under the agreed support condition and identify where the deviation first appears. Compare incoming material information, formed sections and pieces after discharge. Handling can create damage after the mill has produced an acceptable part.
Keep shape terms precise. Longitudinal bow, twist and local dents are different observations. A consistent description helps technical support identify the right evidence instead of treating every visibly nonstraight member as the same fault.
When service-hole positions are incorrect
Check the final-member reference, requested pattern and production data. A hole can be cleanly formed at the wrong coordinate. Record individual requested and measured positions and determine whether the issue is constant or associated with particular lengths or transitions.
Do not use informal program offsets to hide an unexplained error. A correction that appears to work on one length may fail on another. Verify approved changes across the relevant product basket and keep the feature's design requirements intact.
When cut ends obstruct assembly
Inspect the part immediately after cutting and after collection. Confirm the correct cutting and support components for the section. End deformation may be introduced by the cutting operation or by later handling, and those causes should not be confused.
Record length accuracy separately from end shape. A member can be the correct length but have a distorted flange that prevents fit. The release check needs both conditions where they are part of the product specification.
When bundles contain wrong counts or mixed products
Retain the last known correct bundle and the first affected one when practical. Their order and configuration records can narrow the interval requiring review. Correcting the counter or label for new production does not automatically establish the contents of packages already completed.
Trace the counting, labeling and collection sequence. A physical forming correction cannot solve information lost at bundling. Check how the route changes between studs, tracks and similar sizes, especially during small mixed orders.
Use a controlled test order to verify the revised workflow. Confirm quantity, product identity and material labels at the final release boundary. A correct count of the wrong section is still an order failure.
Verify the whole pair after correction
Apply approved actions through qualified personnel and the equipment's procedures. Preserve the baseline and record what changed. Inspect dimensions, features, ends and mating fit before releasing representative production.
- Confirm the defect and correct product references.
- Locate the earliest process boundary showing the issue.
- Review material, setup, tooling and data changes.
- Implement the authorized correction.
- Verify the pair and relevant bundle output.
- Trace affected prior production and document disposition.
For example, if a fit problem begins immediately after switching to a different track, test the original accepted stud with the identified old and new track samples. This controlled comparison can reveal whether the issue follows the track variant. It is more informative than altering the stud tools first and losing the original relationship.
Frequently asked framing troubleshooting questions
Should the stud be narrowed whenever it will not enter the track?
No. Verify the correct pair, actual dimensions and end condition first. The track or product identification may be responsible, and an uncontrolled stud change can violate its drawing.
Can a service-hole error be accepted if the section is correct?
Only through the responsible product disposition process. Required features are part of the member specification, not optional details once forming is complete.
Why check after collection as well as after cutting?
Handling can introduce deformation or mixing after a correct cut. Comparing those boundaries helps locate the cause instead of assigning every end problem to the shear.
What makes a useful support package?
Provide both member drawings, material identities, annotated dimensions, feature data, consistent photographs and the change timeline. Include identified mating samples so compatibility can be assessed directly.
Continue your research
- Stud & Track Roll Forming Machines
- Drywall Stud Roll Forming Machine
- Drywall Track Roll Forming Machine
- C89 Light Gauge Steel Framing Machine
- C140 Light Gauge Steel Framing Machine
- Top Hat Light Steel Framing Machine
- How Stud and track roll forming machine Works
- How To Choose a Stud and track roll forming machine
- Stud and track roll forming machine Price: What Affects the Cost?