
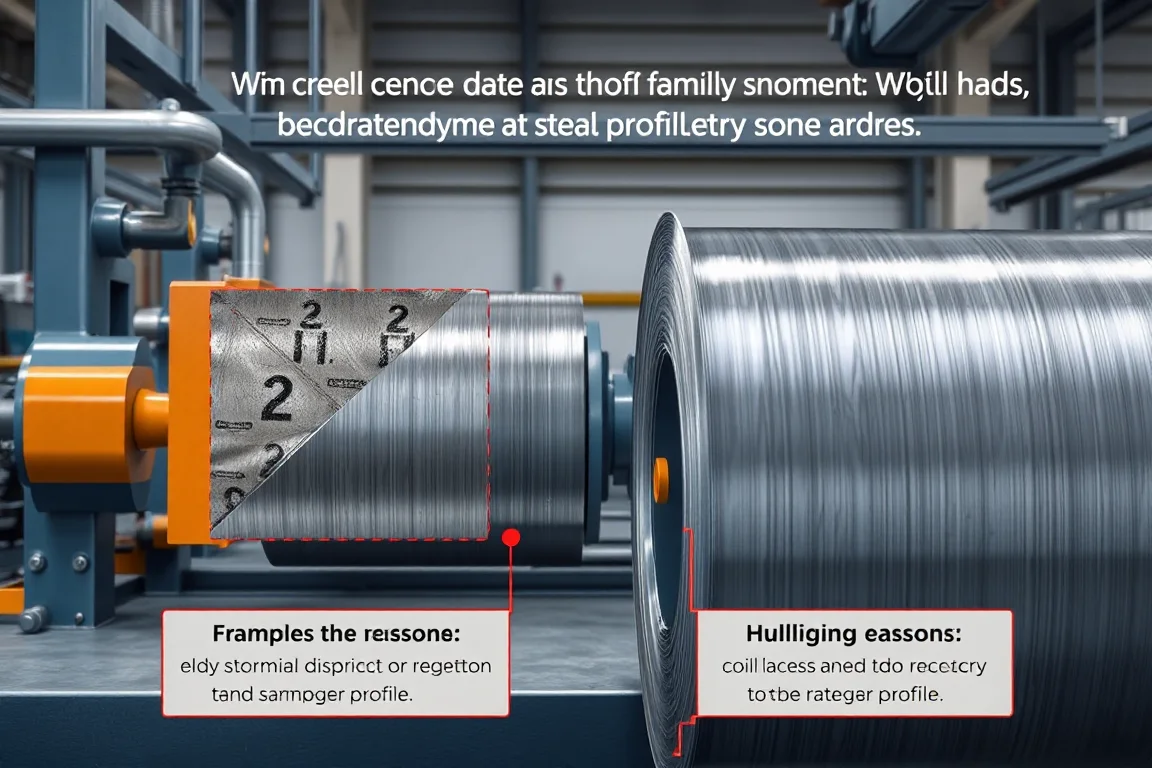
Coil processing defects should be traced through incoming material, processing and final handling. A width error, edge burr, relaxed-shape problem, surface mark or poor package condition does not automatically have the same cause. Define the failed characteristic and preserve the job information before adjusting the line.
Contain affected output and preserve traceability
Identify the input coil, material, job pattern, setup and production interval. Separate suspect slit coils or sheet stacks from released stock. Retain the last confirmed accepted check and the sequence of later observations.
Use the approved stop, isolation and inspection procedures. Coil and strip equipment contains serious movement and stored-energy hazards; investigation and tool service belong to trained personnel under the required safeguards. Do not approach a running contact point to inspect a defect.
Verify the measurement and product reference
Confirm drawing or order revision, units, datums and measuring equipment. For sheet shape, use the agreed support and relaxed condition. A disagreement caused by a different measurement arrangement should be resolved before the process is changed.
Record whether the issue is continuous, intermittent or associated with one width position, coil segment or package. Mark orientation and retain samples where practical. The pattern helps guide the next investigation.
Investigate slit-width errors through the controlled setup
Verify the intended pattern and the installed tool and component identities. Measure representative strips using the specified method. Distinguish a consistent offset from variation during the run, and keep the observations for each strip position.
Compare the event with a pattern change, tool service or material transition. Several causes can create an apparent width problem, so use the responsible diagnostic procedure rather than making multiple undocumented corrections at once.
Review edge burrs and damage separately
Describe the edge condition, its orientation and whether it changes across the pattern or through the run. Record material identity, thickness information and tool-service history. Keep the relevant samples before rework removes the evidence.
Tool condition and setup are possible lines of investigation, but generic clearance values should not replace the approved material-specific process. After authorized service or adjustment, inspect the required edge and dimensional characteristics before releasing output.
Trace sheet length and squareness issues
Check the selected job, units and reference edges. Separate length error from squareness and local edge damage. Inspect representative short and long sheets and record whether the issue begins after a size change or interrupted run.
Review the applicable feeding, registration and cutting records with the responsible specialist. A successful correction should preserve the other required characteristics. Do not accept a correct average length if individual sheets still fail the agreed order requirement.
Evaluate relaxed-shape problems consistently
Confirm the inspection support, timing and material identity. Compare incoming observations with the finished product where suitable records exist. Material held flat within equipment does not necessarily establish its released shape after cutting.
Use the approved leveling review procedure where that operation is included. Do not assume every shape defect can be corrected by increasing an adjustment. The incoming condition and the equipment's reviewed material envelope remain part of the diagnosis.
Locate surface marks along the route
Classify the mark as continuous, periodic, local or handling-related. Identify the affected face and its position across the strip or sheet. Compare the incoming material, permitted inspection points and finished packages.
If a product is clean at the processing exit but damaged after recoiling or stacking, investigate that later route. Keep contact, protection and packaging conditions with the record. Changing the principal processing tools may not address marks introduced elsewhere.
Investigate coil build and stack condition
Review the specified delivery format and what differs in the affected package. Record whether the problem appears during production, removal, strapping or movement. Preserve identification so a package issue is not confused with a material or dimension mismatch.
Use the approved exit-equipment and handling procedures for correction. Inspect surfaces and edges after any authorized change. A package that looks neater is not sufficient if the intervention damages the actual product.
Pay attention to transition-related problems
Compare defects beginning after a coil, pattern, thickness or sheet-size change with the controlled recovery checklist. Verify tools, job identity and required first-product checks. Similar orders can conceal an incorrect inherited setting.
Record recurring informal adjustments and investigate why they are needed. If the approved setup cannot restore accepted output consistently, improve the documented procedure through technical review rather than normalizing an unexplained workaround.
Verify correction and close the record
Make authorized changes in a controlled manner and record the result. Repeat the affected checks over the relevant production interval and transition. Confirm that neighboring dimensions, edges, surfaces and package requirements remain acceptable.
Document the disposition of suspect material and the release decision. Keep the accepted setup or service change with its evidence and follow the next comparable job. The aim is a repeatable correction that explains the problem, not merely one good sample after repeated trial and error.
Frequently asked troubleshooting questions
Should a burr always be treated as tool wear?
Tool condition is one possible contributor, but material and setup also need review. Preserve the evidence and follow the approved diagnostic process for the actual job.
Why inspect sheet shape after release?
Restraint can affect what is observed during processing. Use the agreed relaxed condition and supports to evaluate the delivered sheet consistently.
Can a package issue originate after processing?
Yes. Recoiling, stacking, strapping and movement can affect edges and surfaces. Compare observations before and after those steps to locate the source.
What information should accompany a defect report?
Coil and job identities, material, setup and tools, measurement method, defect location, timeline and relevant samples. Include each authorized change and its result so the investigation can be followed.
Continue your research
- Coil Processing & Auxiliary Equipment
- Steel Coil Slitting Line
- Cut To Length Line
- Narrow Strip Steel Coil Slitting Line
- High Speed Steel Coil Slitting Line
- Heavy Gauge Steel Coil Slitting Line
- How Coil processing line Works
- How To Choose a Coil processing line
- Coil processing line Price: What Affects the Cost?