
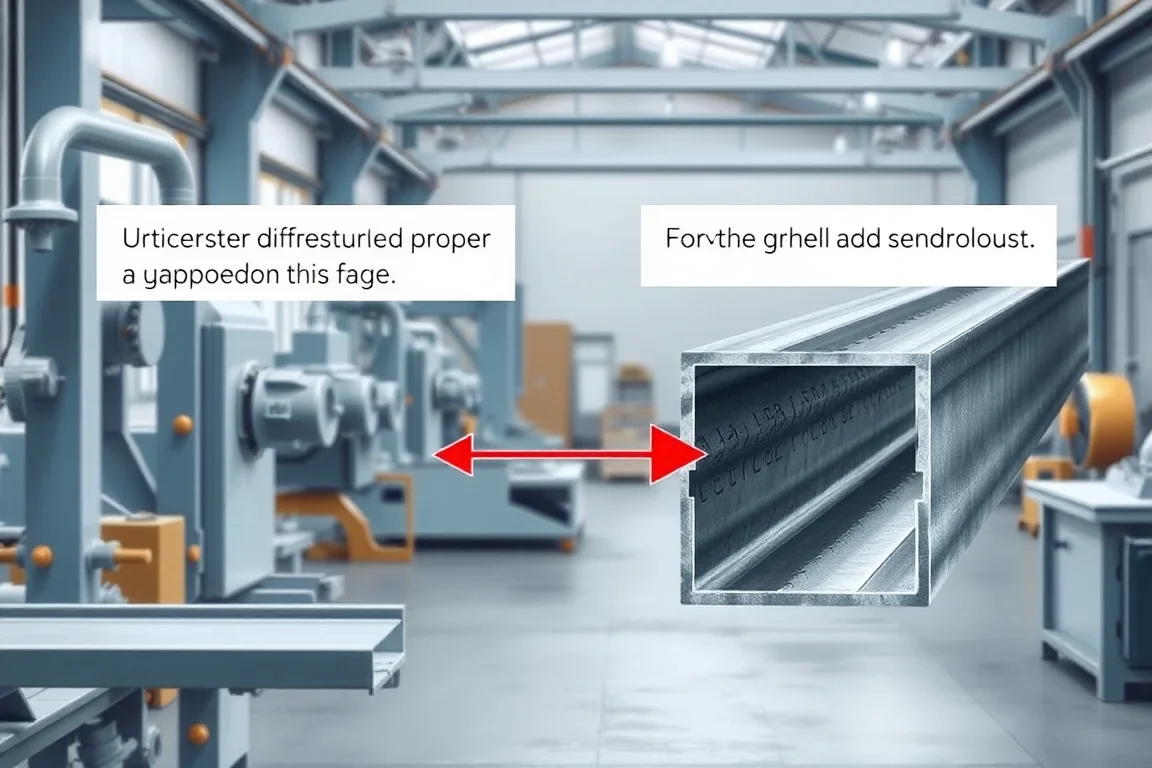
When a greenhouse roll forming machine produces off-spec parts, the fastest route to a fix is not a list of adjustments but a disciplined diagnostic sequence. This guide explains how to look at the symptoms, isolate the stage of the process where the variation is introduced, and decide what evidence to collect before changing anything. It is written for operators, maintenance technicians and production engineers working with profiles such as gutter drainage shapes, film-lock channels, support sections and connection-hole patterns.
Start with the symptom, not the suspected cause
"The profile is wrong" is too broad to act on. Break the observation into measurable descriptions: a film-lock channel that will not retain its wire, a gutter section that leaks at a joint, a hole that does not align with the greenhouse drawing, a cut end that is burred or angled, or a part that twists after it leaves the run-out table. Each of these points toward different stages. The goal is to move from a vague complaint to a specific defect description that someone can verify with a gauge, a sample component or a drawing.
Separate material effects from forming effects
Incoming coil is a common source of variation that looks like a machine problem. If defects appear only after a new coil is loaded, the coil lot, base-metal thickness, grade condition or coating may differ from the previous lot. Material that is harder or thicker than the setup was built around can change springback, causing section dimensions to drift even when the rolls have not moved. A practical check is to compare the same measurement on parts from the previous known-good coil and the current coil, using the same gauge and the same measurement location. If the defect follows the coil, the corrective action belongs in material verification and setup validation, not in arbitrary roll pressure changes.
Trace the sequence: punching, forming, cutoff and handling
A greenhouse line typically runs coil preparation, connection punching, section forming, cutoff and then greenhouse-interface checks. Troubleshooting is easier when you identify which of these stages introduces the defect. Hole position problems generally start at punching or at the interface between punching and forming if the strip shifts. Section geometry problems, such as an open or closed film-lock channel, usually originate in the forming stations. Length and end-quality problems point to cutoff. Twist, bow or handling damage may appear only after the part is stacked or moved.
Diagnosing film-lock channel and retaining-wire problems
If a retaining wire does not seat, inspect the channel opening and the matching component together. The wire may be within its own tolerance while the channel opening is at the wrong size, or the channel may be correct while the wire is out of specification. Measure the channel opening at several points along the part, not only at the ends, because inconsistent opening width along the length suggests a forming or straightening issue rather than a single setup value. Check whether the defect appears on every part or only on certain sections of the coil. Also confirm that the correct wire or retaining profile is being used for the intended greenhouse design.
Gutter leaks: separate section geometry from installation and joints
A leaking gutter is not automatically a roll forming defect. Water can escape because the section geometry is wrong, because the installation slope is inadequate, because joints are not sealed or aligned, or because the parts are damaged during handling. A useful approach is to check the formed section against the drawing first, then examine the joint condition, then review how the parts were stored and installed. If the section matches the drawing and the joint still leaks, the issue may lie in installation practice or in the joint design rather than in the forming machine. Keeping a known-good reference section helps make this comparison objective.
Connection holes and film-retaining hardware fit
Connection-hole problems often show up as field complaints: fasteners do not pass, holes do not line up between adjacent parts, or hardware sits at an angle. Check hole position relative to the section datum, not just hole-to-hole spacing. A part can have correct spacing but be shifted overall if the strip was not located consistently during punching. Film-retaining hardware fit should be checked against the greenhouse drawing, because the drawing defines the intended interface. If the hardware fits the drawing but not the part, measure the part at the interface location and compare with the previous accepted part.
Cutoff quality and length variation
Cutoff problems usually present as rough ends, angled cuts, length variation or deformation near the cut. Length variation may be caused by material slip, by a measurement or stop issue, or by variation in the incoming strip. End deformation may relate to the cutoff tool condition or to how the profile is supported during the cut. Confirm the profile-supported cutoff and cut-length requirements with the equipment manufacturer's procedure, and inspect the end quality against the agreed acceptance criteria. Do not attempt to reach into or adjust moving cutoff components while the line is running.
Humidity, condensate and chemical exposure
Greenhouse environments combine humidity, condensate and sometimes cleaning chemicals or nutrient solutions. Corrosion-related defects may not appear at the roll forming stage but emerge in service. When troubleshooting complaints about early corrosion or coating breakdown, specify the expected environment rather than relying only on a generic galvanized description. For growing systems, evaluate suitability for the actual nutrient and cleaning environment, and recognize that a channel called hydroponic is not automatically suitable for contact with nutrient solution. Material and coating suitability need specialist confirmation.
What diagnostic evidence to collect
Good troubleshooting depends on evidence, not on memory. Document the defect with part identity, coil lot, drawing revision and measurement conditions. Record whether the fault starts at a coil or setup change. Compare incoming material, output before cutoff where safely observable, and the finished handled part. Use the same measurement method each time, and keep a known-good reference part. Change one controlled variable at a time under the equipment manufacturer's procedure. Escalate safety-related or qualified-process changes to the responsible engineer.
Practical troubleshooting checklist
- Describe the defect specifically: location, size, frequency and which parts are affected.
- Record coil lot, material condition, drawing revision and machine setup state.
- Separate forming, cutting, joining and handling effects before adjusting anything.
- Compare against a known-good part measured with the same method and gauge.
- Check film-retaining hardware fit, drainage joints and connection holes against the greenhouse drawing.
- Confirm whether the defect follows the coil or follows the machine setup.
- Change one variable at a time and observe the result under the manufacturer's procedure.
- Do not reach into running machinery or improvise adjustments around stored energy.
- Document the outcome so the next occurrence is faster to diagnose.
Comparing diagnostic approaches and their tradeoffs
One approach is to inspect finished parts only. This is quick and catches gross defects, but it cannot tell you which stage introduced the variation. A second approach is to inspect the strip before cutoff where it is safe to observe. This narrows the stage but requires a safe observation method and may not capture handling effects. A third approach is to track a coil lot through the line and compare parts at each stage. This is more work but gives the strongest evidence for root cause. A fourth is to rely on the machine's setup records and revert to a known-good setup. This can restore production quickly but may mask an underlying material or tooling issue if the setup change is not understood. The tradeoff is between speed and root-cause certainty; the most useful choice depends on whether the defect is a one-off or a recurring pattern.
Frequently asked questions
The film-lock channel does not hold the retaining wire. What should I check?
Inspect the channel opening and the matching wire or retaining component together. Measure the opening at several points along the part, because variation along the length points to a forming issue rather than a single setup value. Confirm the wire is the correct type for the greenhouse design. If the channel matches the drawing and the wire is correct, the hardware fit may need review with the greenhouse designer.
Gutter sections leak at the joints even though the profile looks correct. Why?
Separate the section geometry from the installation slope and joint condition. If the formed section matches the drawing, the leak may come from inadequate slope, joint sealing, alignment or handling damage. Check how the parts were stored and installed. A known-good reference section helps distinguish a forming problem from an installation issue.
Connection holes do not align with the greenhouse drawing. What causes this?
Check hole position relative to the section datum, not just hole-to-hole spacing. A part can have correct spacing but be shifted overall if the strip was not located consistently during punching. Compare the current part with a previous accepted part at the interface location. If the shift follows a coil change, material variation may be influencing strip tracking.
Parts twist or bow after they leave the machine. Is that a forming problem?
Twist or bow can originate in forming or in handling and stacking. Observe the part at the run-out table where this is safe, and again after it has been moved. If the distortion appears only after handling, the forming stage may be acceptable and the handling method may need review. If it appears immediately, forming or straightening setup is a more likely area to investigate under the manufacturer's procedure.
How do I know whether the coil or the machine setup is causing the defect?
Compare parts from the previous known-good coil with parts from the current coil, using the same gauge and measurement location. If the defect follows the coil, material variation is the likely driver. If it follows a setup change, the setup is the likely driver. Recording coil lot and setup state alongside the defect makes this comparison possible.
Can I adjust the machine myself when a defect appears?
Only within the scope of the equipment manufacturer's procedure and your site's safety rules. Do not reach into running machinery or improvise adjustments around stored energy. Safety-related or qualified-process changes should be escalated to the responsible engineer. Changing one controlled variable at a time, with documentation, keeps the diagnosis reliable.
Where troubleshooting ends and design review begins
Some defects cannot be resolved by adjustment because they originate in the interface between the profile and the greenhouse system. If film-retaining hardware, drainage joints or connection holes repeatedly fail field fit, the drawing, the hardware selection or the profile design may need review. For growing systems, material and coating suitability in the actual nutrient and cleaning environment is a design question, not a line adjustment. Documenting these recurring issues with part identity, measurement conditions and drawing revision gives the design team the information needed to decide whether the profile, the material or the installation method should change.
Continue your research
- Greenhouse Profile Roll Forming Machines
- Greenhouse Gutter Roll Forming Machine
- Greenhouse Channel Roll Forming Machine
- Greenhouse Film Locking Channel Machine
- Greenhouse Crop Support Channel Machine
- Greenhouse Purlin Roll Forming Machine
- How Greenhouse roll forming machine Works
- How To Choose a Greenhouse roll forming machine
- Greenhouse roll forming machine Price: What Affects the Cost?