
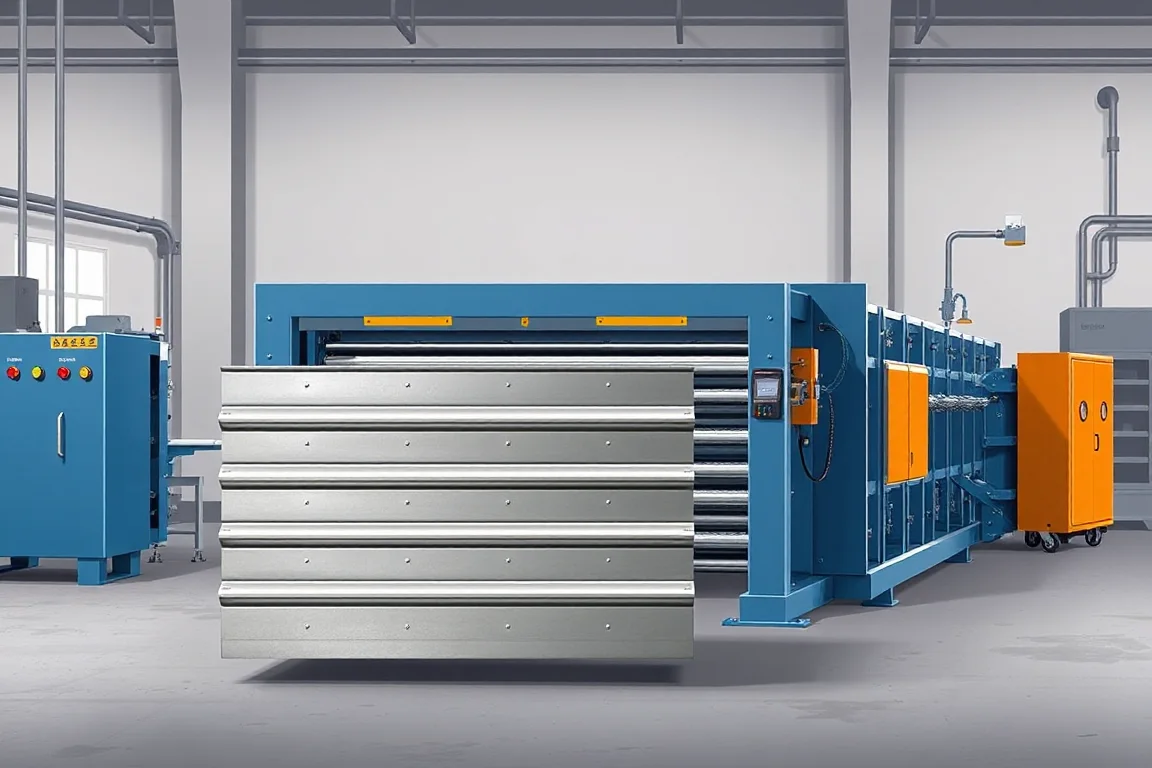
A garage door panel roll forming machine produces the metal skins or defined panel sections used in a sectional garage door. The product combines a visible face, longitudinal joints and interfaces for reinforcement, hinges or other components. A complete insulated or assembled panel requires additional operations beyond shaping one metal skin.
The equipment project should identify the finished panel construction and supply boundary. Producing an outer skin, a paired-skin assembly and a finished insulated section are different manufacturing tasks. Comparing them under one panel-machine label can hide substantial differences in tooling, joining and handling.
Which garage door product is intended?
Distinguish sectional panels from rolling-door slats. Sectional panels connect through the specified joints and hardware to form a door of several broad sections, while rolling curtains use many repeated slats. Their geometry and production routes should not be treated as interchangeable.
Within the sectional-panel family, identify single-skin, insulated and other defined constructions. Show the visible face, inner components and longitudinal joint. The product name alone does not establish whether the line includes core preparation, bonding, reinforcement or final assembly.
What should the panel drawing show?
- Panel height, length range and face geometry.
- Top and bottom joint profiles in loose and assembled conditions.
- Material and finish of each skin.
- Core or insulation construction where required.
- End stiles, center supports and reinforcement interfaces.
- Hinge, roller-bracket and other hardware references.
Include the completed panel cross-section and a representative adjoining pair. A skin drawing without the mating joint leaves a central tooling target unresolved.
How should the visible face be specified?
Identify ribs, texture or decorative embossments and the surfaces that remain exposed. These features can require dedicated operations in addition to longitudinal roll forming. A smooth-skin line does not automatically create every architectural panel pattern.
Provide the actual material and finish for trials, including any protective film. Inspect appearance under agreed viewing and support conditions. Surface marks introduced by embossing, forming, cutting and assembly should be recorded separately to locate their source.
Where several colors or textures share a profile, define order identification and material clearing during changes. Similar finishes should not be mixed in a matched door-panel set.
What is the production sequence?
The route depends on the panel construction. It can include skin preparation, decorative features, edge forming, cutting, core or inner-skin assembly, reinforcement and packing. The equipment proposal should show the actual order and included operations.
- Confirm the released panel design and material combination.
- Prepare the skin and required face features.
- Develop the top and bottom joint edges.
- Cut and prepare the panel ends.
- Complete the specified core, inner skin and reinforcement assembly.
- Inspect joint geometry, appearance and hardware interfaces.
- Identify and pack accepted sections or matched door sets.
A skin leaving the former is an intermediate product when later bonding or assembly is required. The commercial scope should make that distinction visible.
Why is the panel joint a primary tooling requirement?
The adjoining edges must match the selected door construction and its movement. Their geometry can include tongue-and-groove or another defined arrangement. Do not infer a particular safety or sealing function from a general joint name without the complete design.
Inspect both edges and assemble production-intent panels with their specified hardware. Check alignment, engagement and the relationship between visible faces. Record unplanned forcing or local modification rather than judging only the final appearance.
Material, forming sequence and downstream assembly can all affect the joint. Measure skins and completed panels where needed to identify which stage changes the geometry.
What additional equipment does an insulated panel need?
Specify the core material and manufacturing route. Preformed-core bonding and a reactive filling process have different preparation, dispensing, pressing and process-control requirements. The line should be configured for the selected construction rather than a vague insulation option.
Identify the inner skin, edge closure and required cure or stabilization stages where applicable. Inspect the completed panel according to its product plan. A formed outer skin does not demonstrate the quality of a bonded or filled assembly.
Thermal, acoustic, fire or other performance claims require the relevant complete-product evidence. The presence of insulation alone does not establish a particular rating.
How should stiles and hardware support be included?
End stiles, center supports and reinforcement provide the interfaces required by the selected hinge, roller-bracket or lock arrangement. They may be roll formed separately and then attached. Include their drawings, material and joining method in the project.
Check hardware positions on the completed panel, not only on loose supports. The assembly fixture and joining process determine their final relationship to the panel edges. A correctly punched stile can still be installed incorrectly.
If some components are purchased, identify their supply and inspection responsibilities. A panel line should not be called complete while essential hardware supports remain unspecified.
What changes across panel sizes?
Separate door-section length, panel height, joint geometry and face pattern. Some changes may be controlled by length programs or adjustable tooling, while others require new rolls, presses, cutting parts or assembly fixtures.
Request a configuration matrix and demonstrate the transitions expected in normal production. Include the first accepted completed panel, not merely the first new-length skin. Return to the original configuration to check recovery.
For matched door sets, confirm that identification and packing preserve the required sequence of sections and any window or hardware variants. Producing correct individual panels is not enough if they are grouped into the wrong order.
How should long-panel support be planned?
Provide a supported path through forming, assembly, inspection and packing. Broad finished faces and functional edges need protection at every transfer. A line that produces a long skin but lacks space to assemble and remove it has an incomplete layout.
Inspect straightness and face condition under defined support. Distinguish material waviness, forming marks, bonding effects and handling damage. Comparing unsupported panels with differently supported samples can lead to misleading conclusions.
Trial both short and long commercial products. They create different cutting, assembly and collection cycles and should not be represented by one convenient demonstration length.
How should accepted output be measured?
Where the catalogue includes glazed sections, define the opening preparation and supporting details separately from the solid-panel route. The cutout, trim or frame, and any local reinforcement need their own drawings and assembly checks. A decorative face press or a standard panel cutoff should not be assumed to create a finished window opening. Include that variant in the order balance only after its secondary operations are clear.
Use complete accepted panels or matched door sets according to the supply boundary. Skin forming, decoration, core processing, reinforcement attachment and packing may each govern the route. A bare-skin speed is not equivalent to finished insulated-section output.
For planning only, 100 doors using four specified sections each require 400 accepted panels in the correct mix, plus the other door components. The actual section count comes from the product design. Extra panels of one type do not replace missing special sections.
Compare quotations with equivalent construction, materials, face patterns, joints and assembly scope. Separate purchased hardware, product qualification and installation components from the panel-manufacturing equipment.
What should acceptance demonstrate?
- Skin and completed-panel dimensions.
- Face pattern and finish with the actual materials.
- Top/bottom joint compatibility and alignment.
- Required core, bond or filling checks.
- Stile, reinforcement and hardware positions.
- Representative adjoining-panel assembly.
- Size changes, identification and packed-product condition.
Retain matched panels, hardware references and setup records. They establish a useful manufacturing baseline without replacing the complete door system's required safety and performance verification.
Frequently asked questions
Is a garage door panel the same as a shutter slat?
No. Sectional panels and rolling slats have different constructions and assembly behavior. Specify the intended door type before comparing equipment.
Does the former make a finished insulated panel?
Only if core preparation, bonding or filling, inner components and assembly are included. A metal skin is an intermediate product when those stages remain outstanding.
Can every decorative face be made with roll tools?
Not necessarily. Some patterns need dedicated embossing or pressing operations. Provide the actual design and include the required equipment in the route.
Are stiles included automatically?
No. Their manufacture and attachment need explicit scope. They provide important hardware interfaces and should be inspected in the completed panel.
Does an assembled pair establish door safety performance?
It verifies manufacturing fit and joint alignment. Complete-door safety and performance require the applicable system design and evidence beyond a panel-line trial.
What should an enquiry contain?
Provide complete panel and joint drawings, skin/core materials, finishes, face patterns, reinforcement and hardware references. Add size range, order mix and delivery boundary. This defines the actual production system.

Continue your research
- Roller Shutter Door Roll Forming Machines
- Roller Shutter Slat Roll Forming Machine
- Rolling Shutter Guide Rail Roll Forming Machine
- Flat Roller Shutter Slat Roll Forming Machine
- Curved Roller Shutter Slat Roll Forming Machine
- Perforated Roller Shutter Slat Machine
- How Roller shutter roll forming machine Works
- How To Choose a Roller shutter roll forming machine
- Roller shutter roll forming machine Price: What Affects the Cost?
Configuration & specification inputs
Match the configuration to your section drawing, material and production requirements.
| Parameter | Requirement / confirmation needed |
|---|---|
| Profile geometry | Sectional-panel skins, top/bottom joints and reinforcement/hardware interfaces |
| Material | Specified skin, finish and core construction for the completed panel |
| Thickness & grade | Review actual skin and panel-construction combinations |
| Process route | Face preparation, edge forming, end work, selected core/inner assembly, reinforcement and inspection |
| Cutting | Preserve panel joints and coordinate ends with stiles and special openings |
| Output | Accepted completed panels or matched door sets, not bare-skin speed |
| Electrical supply | Confirm utilities for forming, decoration, core processing, assembly and handling |
| Acceptance | Check finished joints, face quality, core and hardware supports, then assemble representative adjoining sections |